I'm a retired electrical engineer and computer designer who loves new challenges and building things with my hands. This project combines some of my top interests: traditional woodworking, boating, and electric power.
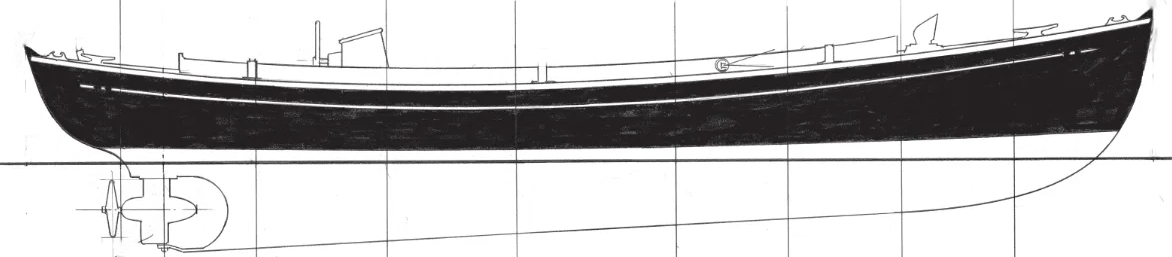
A couple of years into retirement I caught the boatbuilding bug for a second time. Now I'm building a 20-foot electric motor launch with room for up to 8 people to silently cruise across the lake. It will be a power boat, but not a speed boat!
The completed boat will be perfect for lunchtime picnics, cocktail cruises, and sunset excursions. My long term plan is to keep it at our lake home on the Manitowish Waters chain of lakes in Northern Wisconsin. The design for this boat was created to my specifications by an experienced naval architect who works on Long Island, Paul Gartside.
The boat will be driven by an electric "pod" motor that sits under the water at the rear of the boat. (Think of a trolling motor on steroids.) Power comes from a set of lithium-based batteries mounted under the seats. I estimate that top speed will be under 10 MPH and range (at less than top speed) will be over 20 miles.
This site provides a running account of my progress on the build, so check back as the boat takes shape.
Pictures of the Build
Boatbuilding Terminology
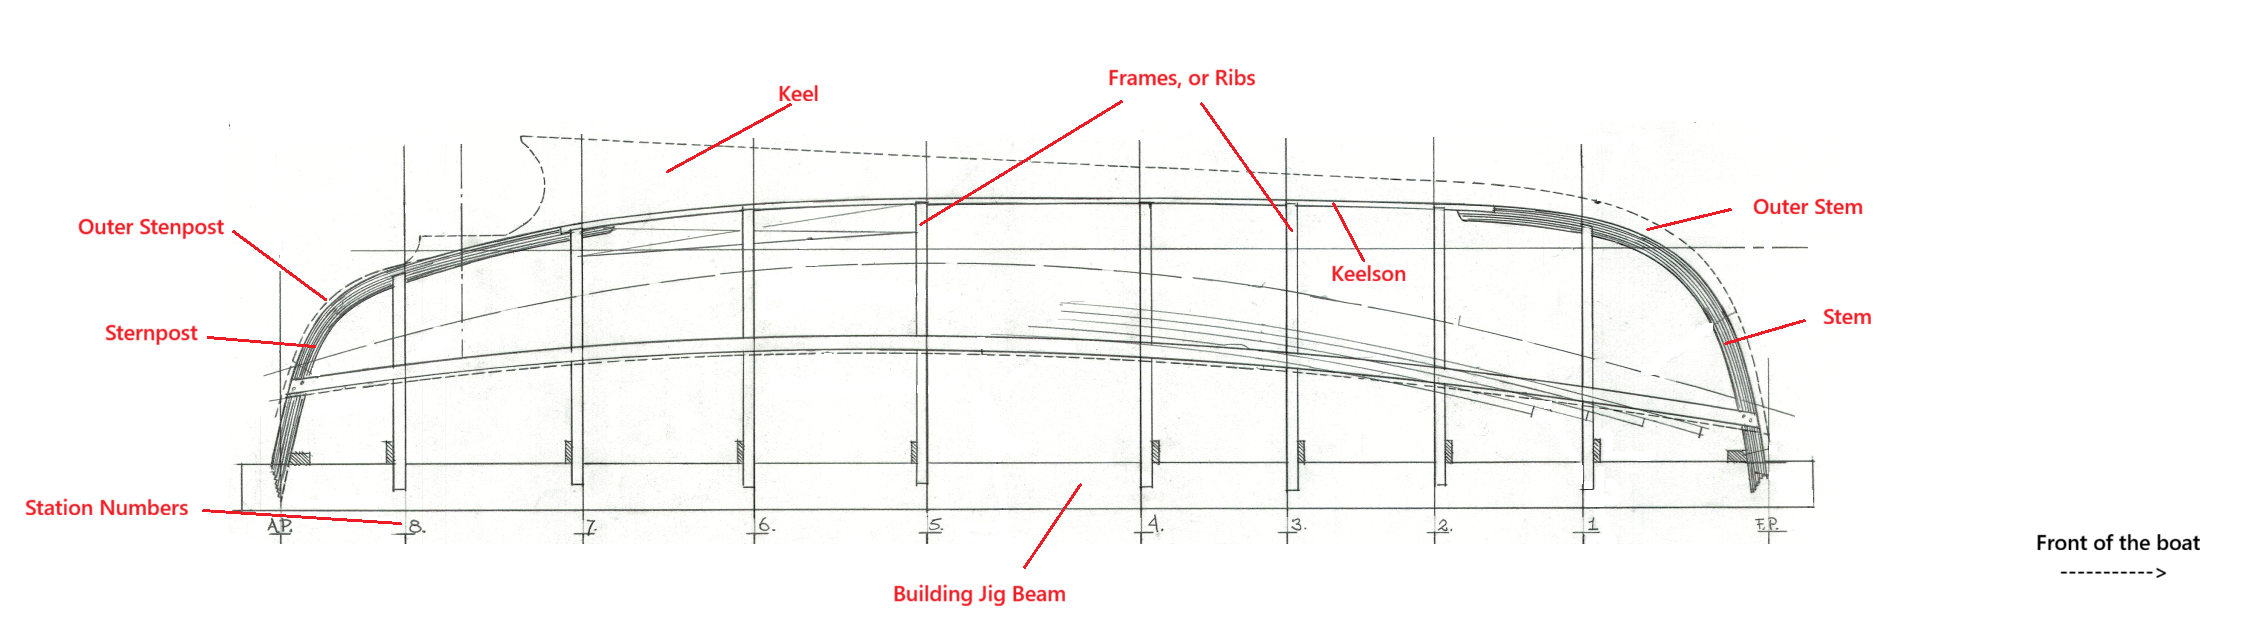
Boatbuilding involves terminology and part names that are very specific to wooden boats. I'm sure that many of these terms have been around almost as long as humans have been building boats. Here's a diagram that shows some of the terms I use on this website, superimposed on my building plan, with the hull upside-down.
Most structural parts of the boat will be made from Vertical Grain Douglas Fir. The planking on the hull will be clear Western Red Cedar. (This means free of knots. It also means expensive.)
From Paper Plans to Full-Size Plans
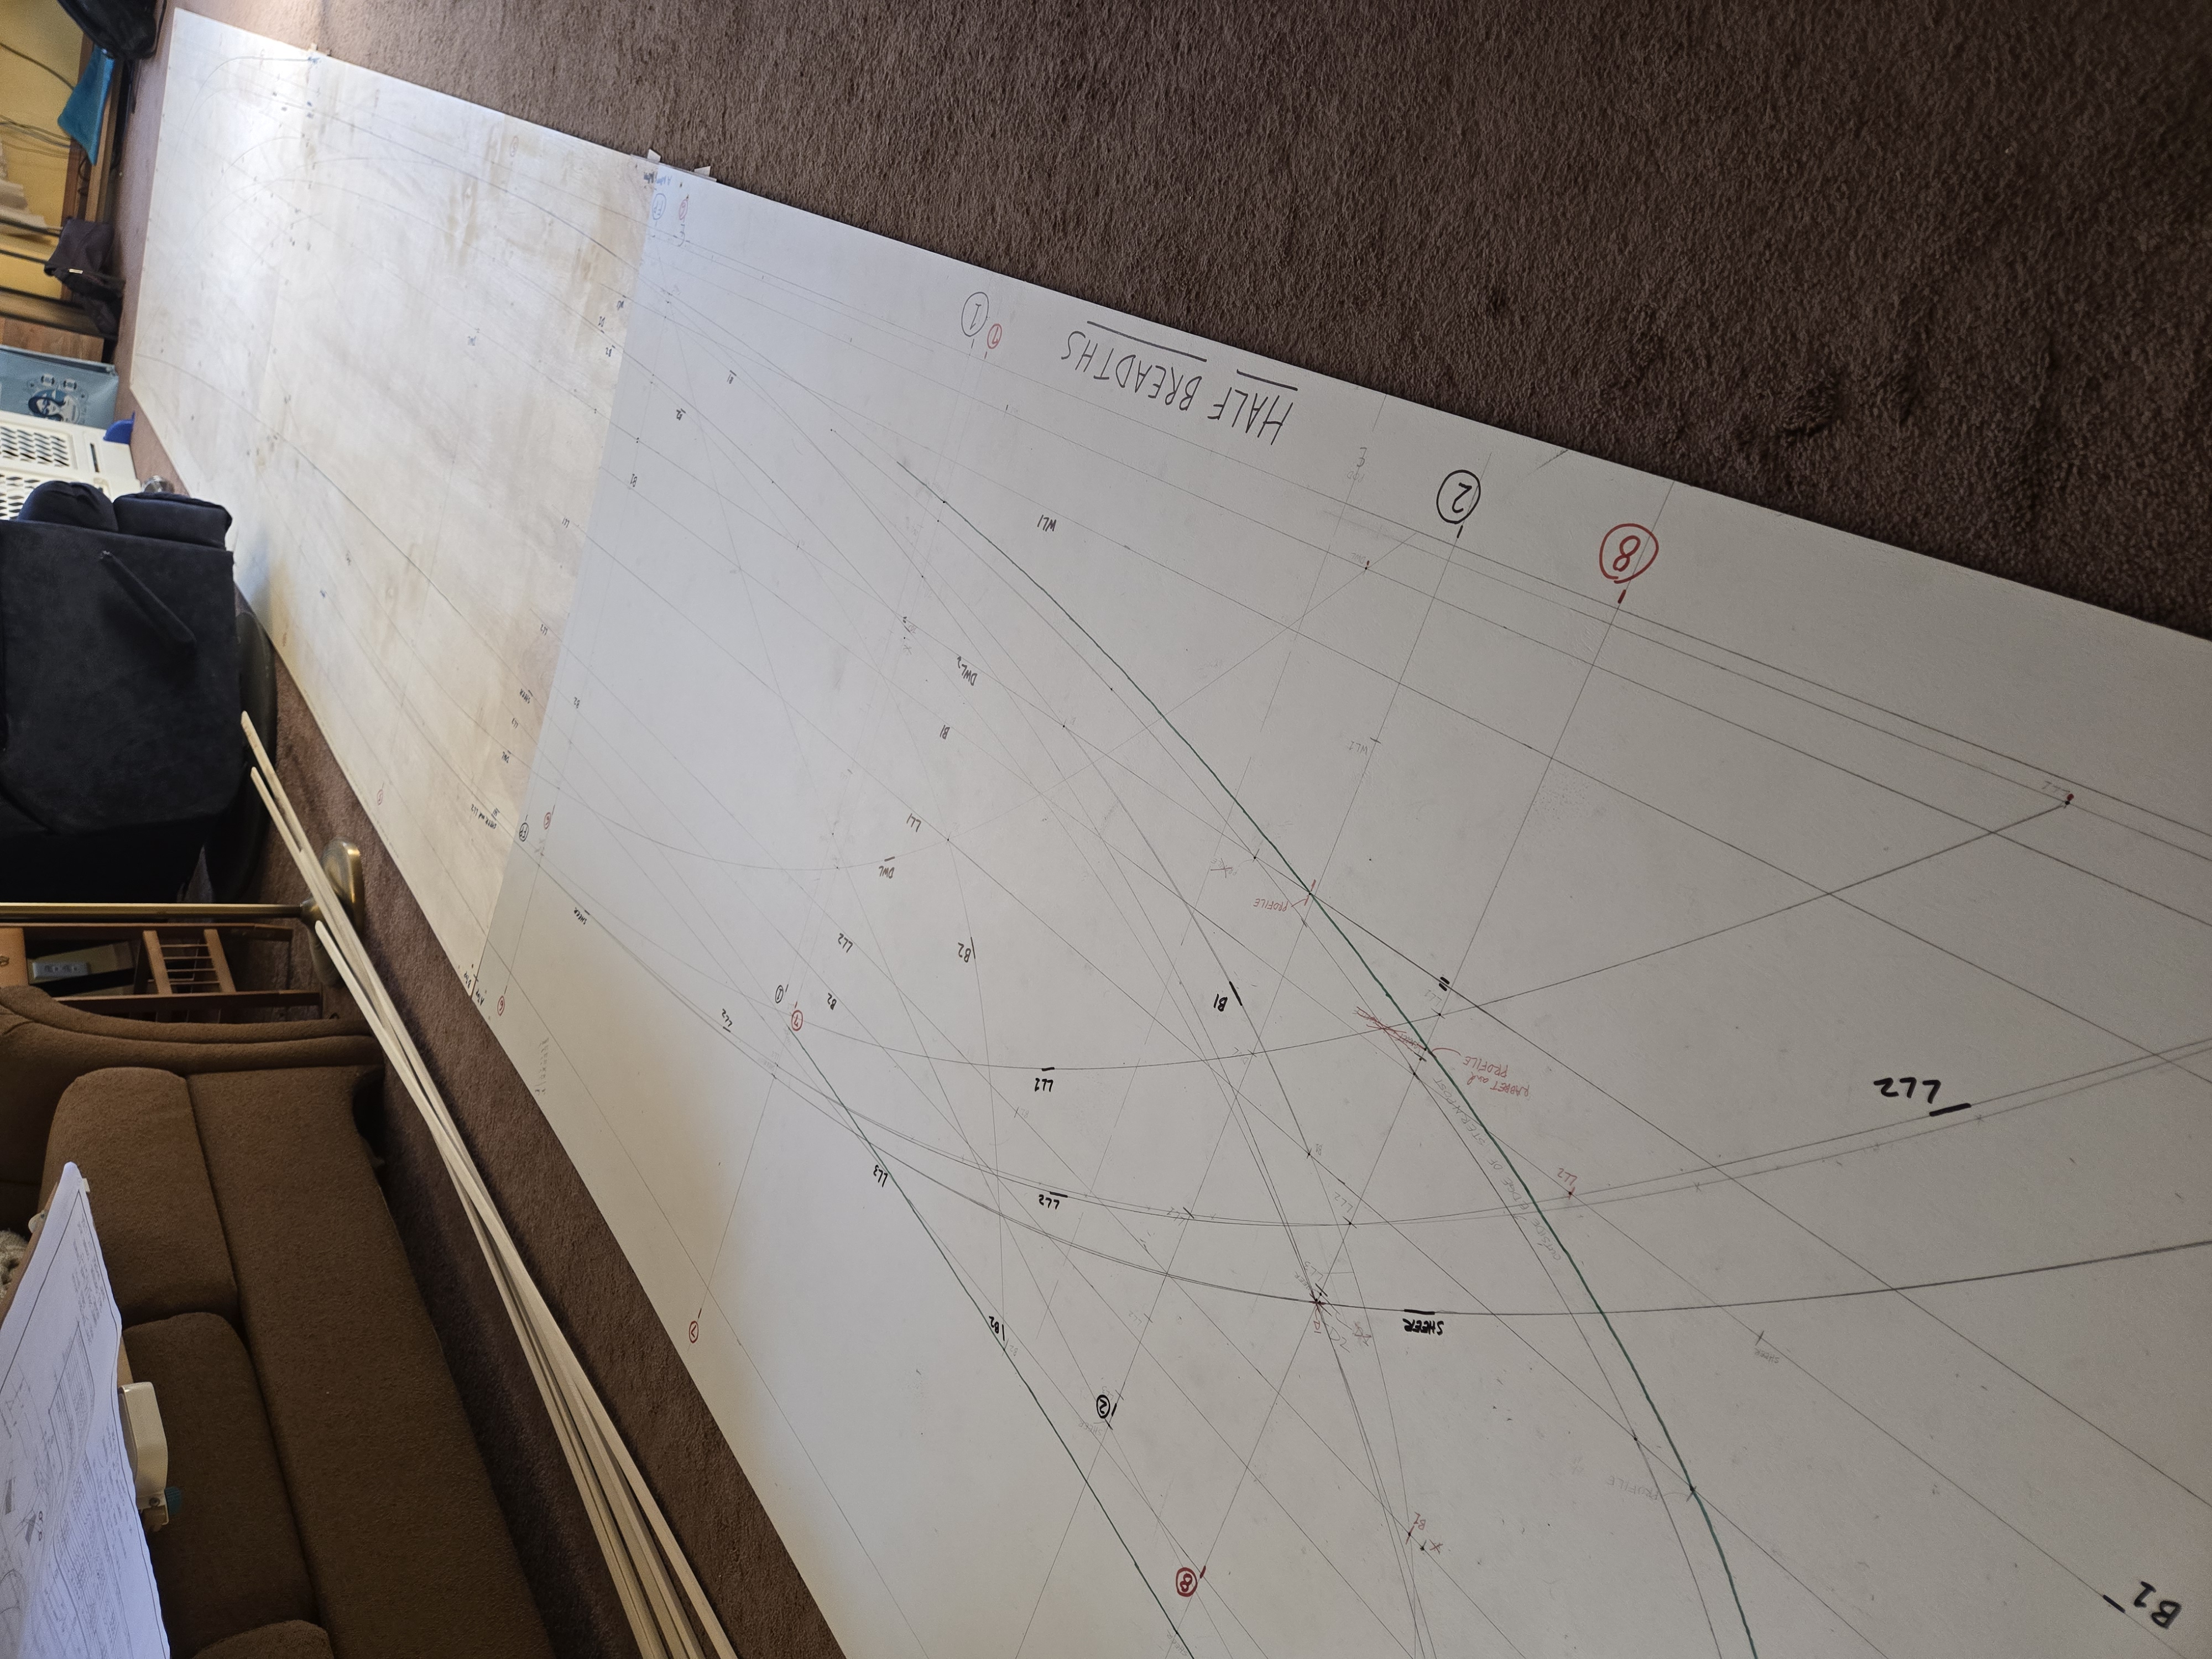
The first step in building the boat is a process called "lofting", which is boatbuilder language for drawing the boat at full scale. In my case this required covering our family room floor with sheets of thin plywood and crawling around on my hands and knees, drawing three overlapping views of the boat (profile view, top view, and end view.) These must be drawn precisely to match the dimensions specified by the designer, and more importantly, one must confirm that the three views are completely consistent with one another. After reading several book chapters on lofting, and watching many online videos, I got to work. Over a couple of weeks (and one aborted attempt) I managed to do a reasonable job drawing up the full size boat. These lofting boards provide full-size details for the major parts I need to create over the next year or more.
For example, the end view provides the exact shapes for each of the frames (ribs) that form the elegant curves of the hull.
Taking over the family room to lay out the full-size plans (1/6/2026)
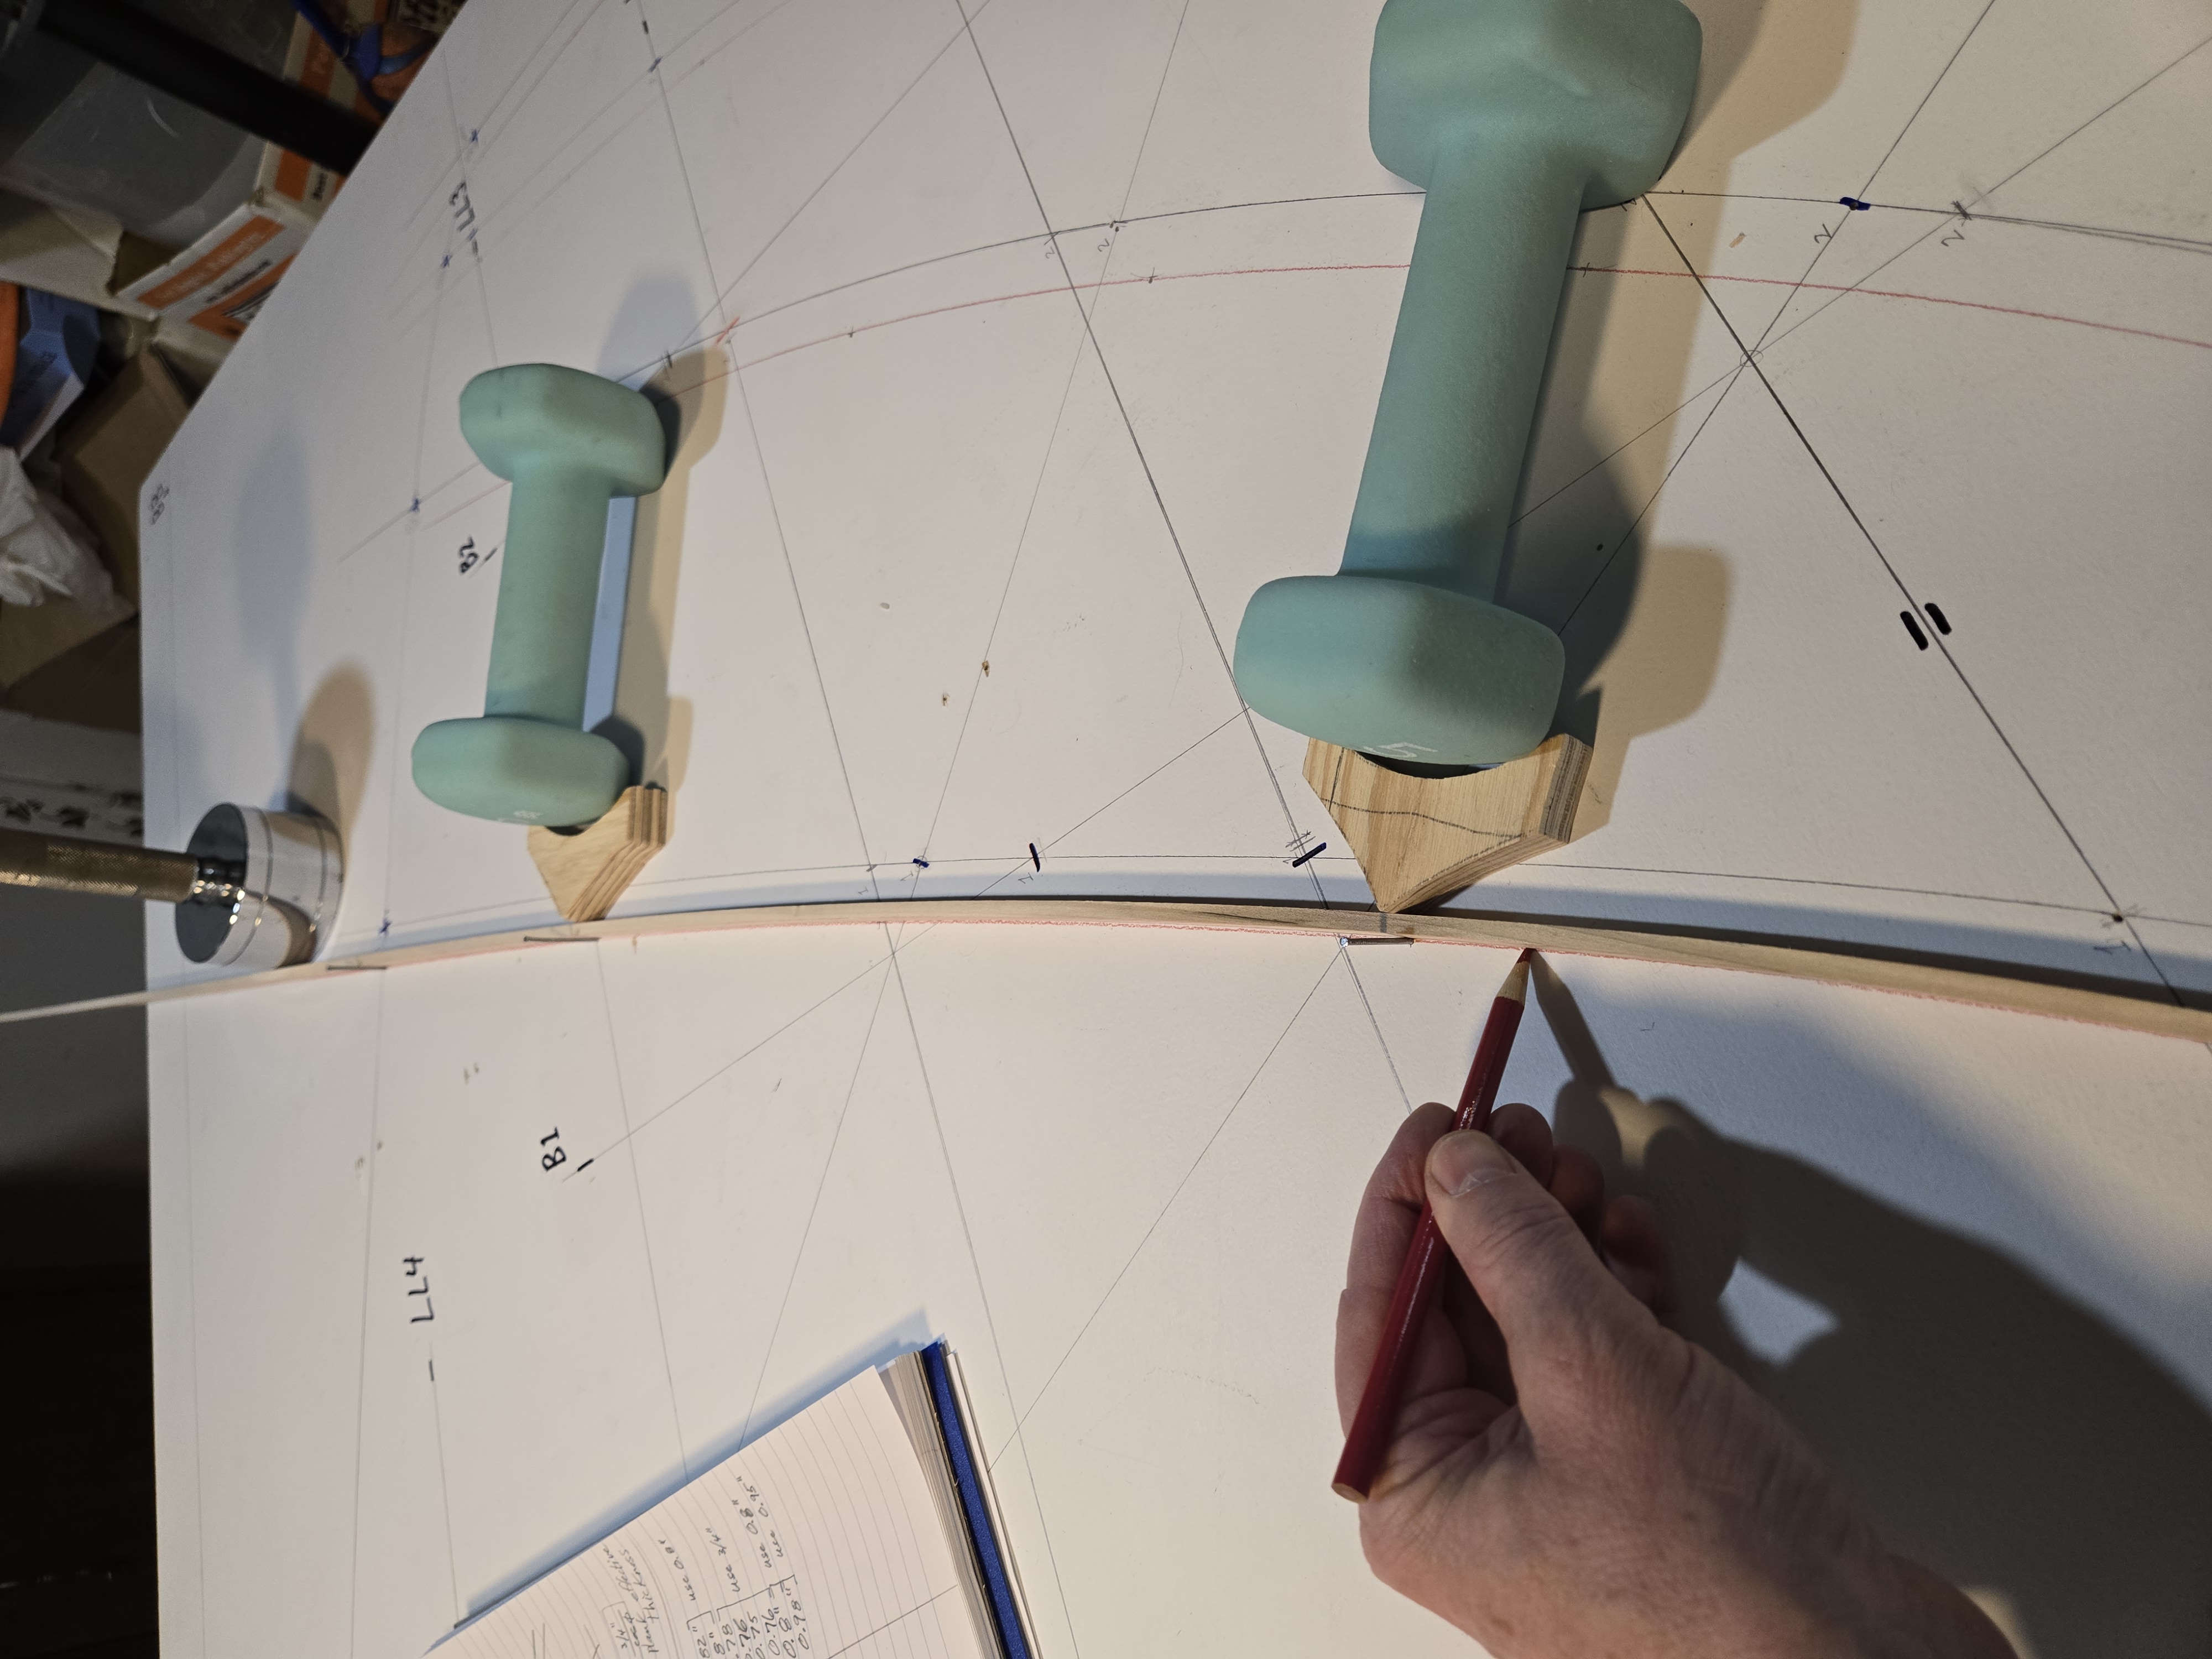
Drawing the curves for each line in the lofting requires driving small nails at the known point on the curve, bending a thin length of wood (called a batten) around the known points on the curve, then tracing the full curve onto the board.
Drawing a fair curve on the lofting board using a batten
Assembling the Frames
I traced the shapes of each frame onto clear sheets of mylar (thin transparent plastic.) I did the same for the curved stem (front) and the curved sternpost (rear). Now it was time to start cutting wood.
In the hull of the boat there are no straight lines - everything is made up of extreme curves. But of course you can't buy curved lumber that matches these curves. So I built these curved pieces by laminating together many thin strips of wood that can, with a lot of effort and lots of clamps, be forced to bend around a set of cleats arranged to form the exact curve needed.
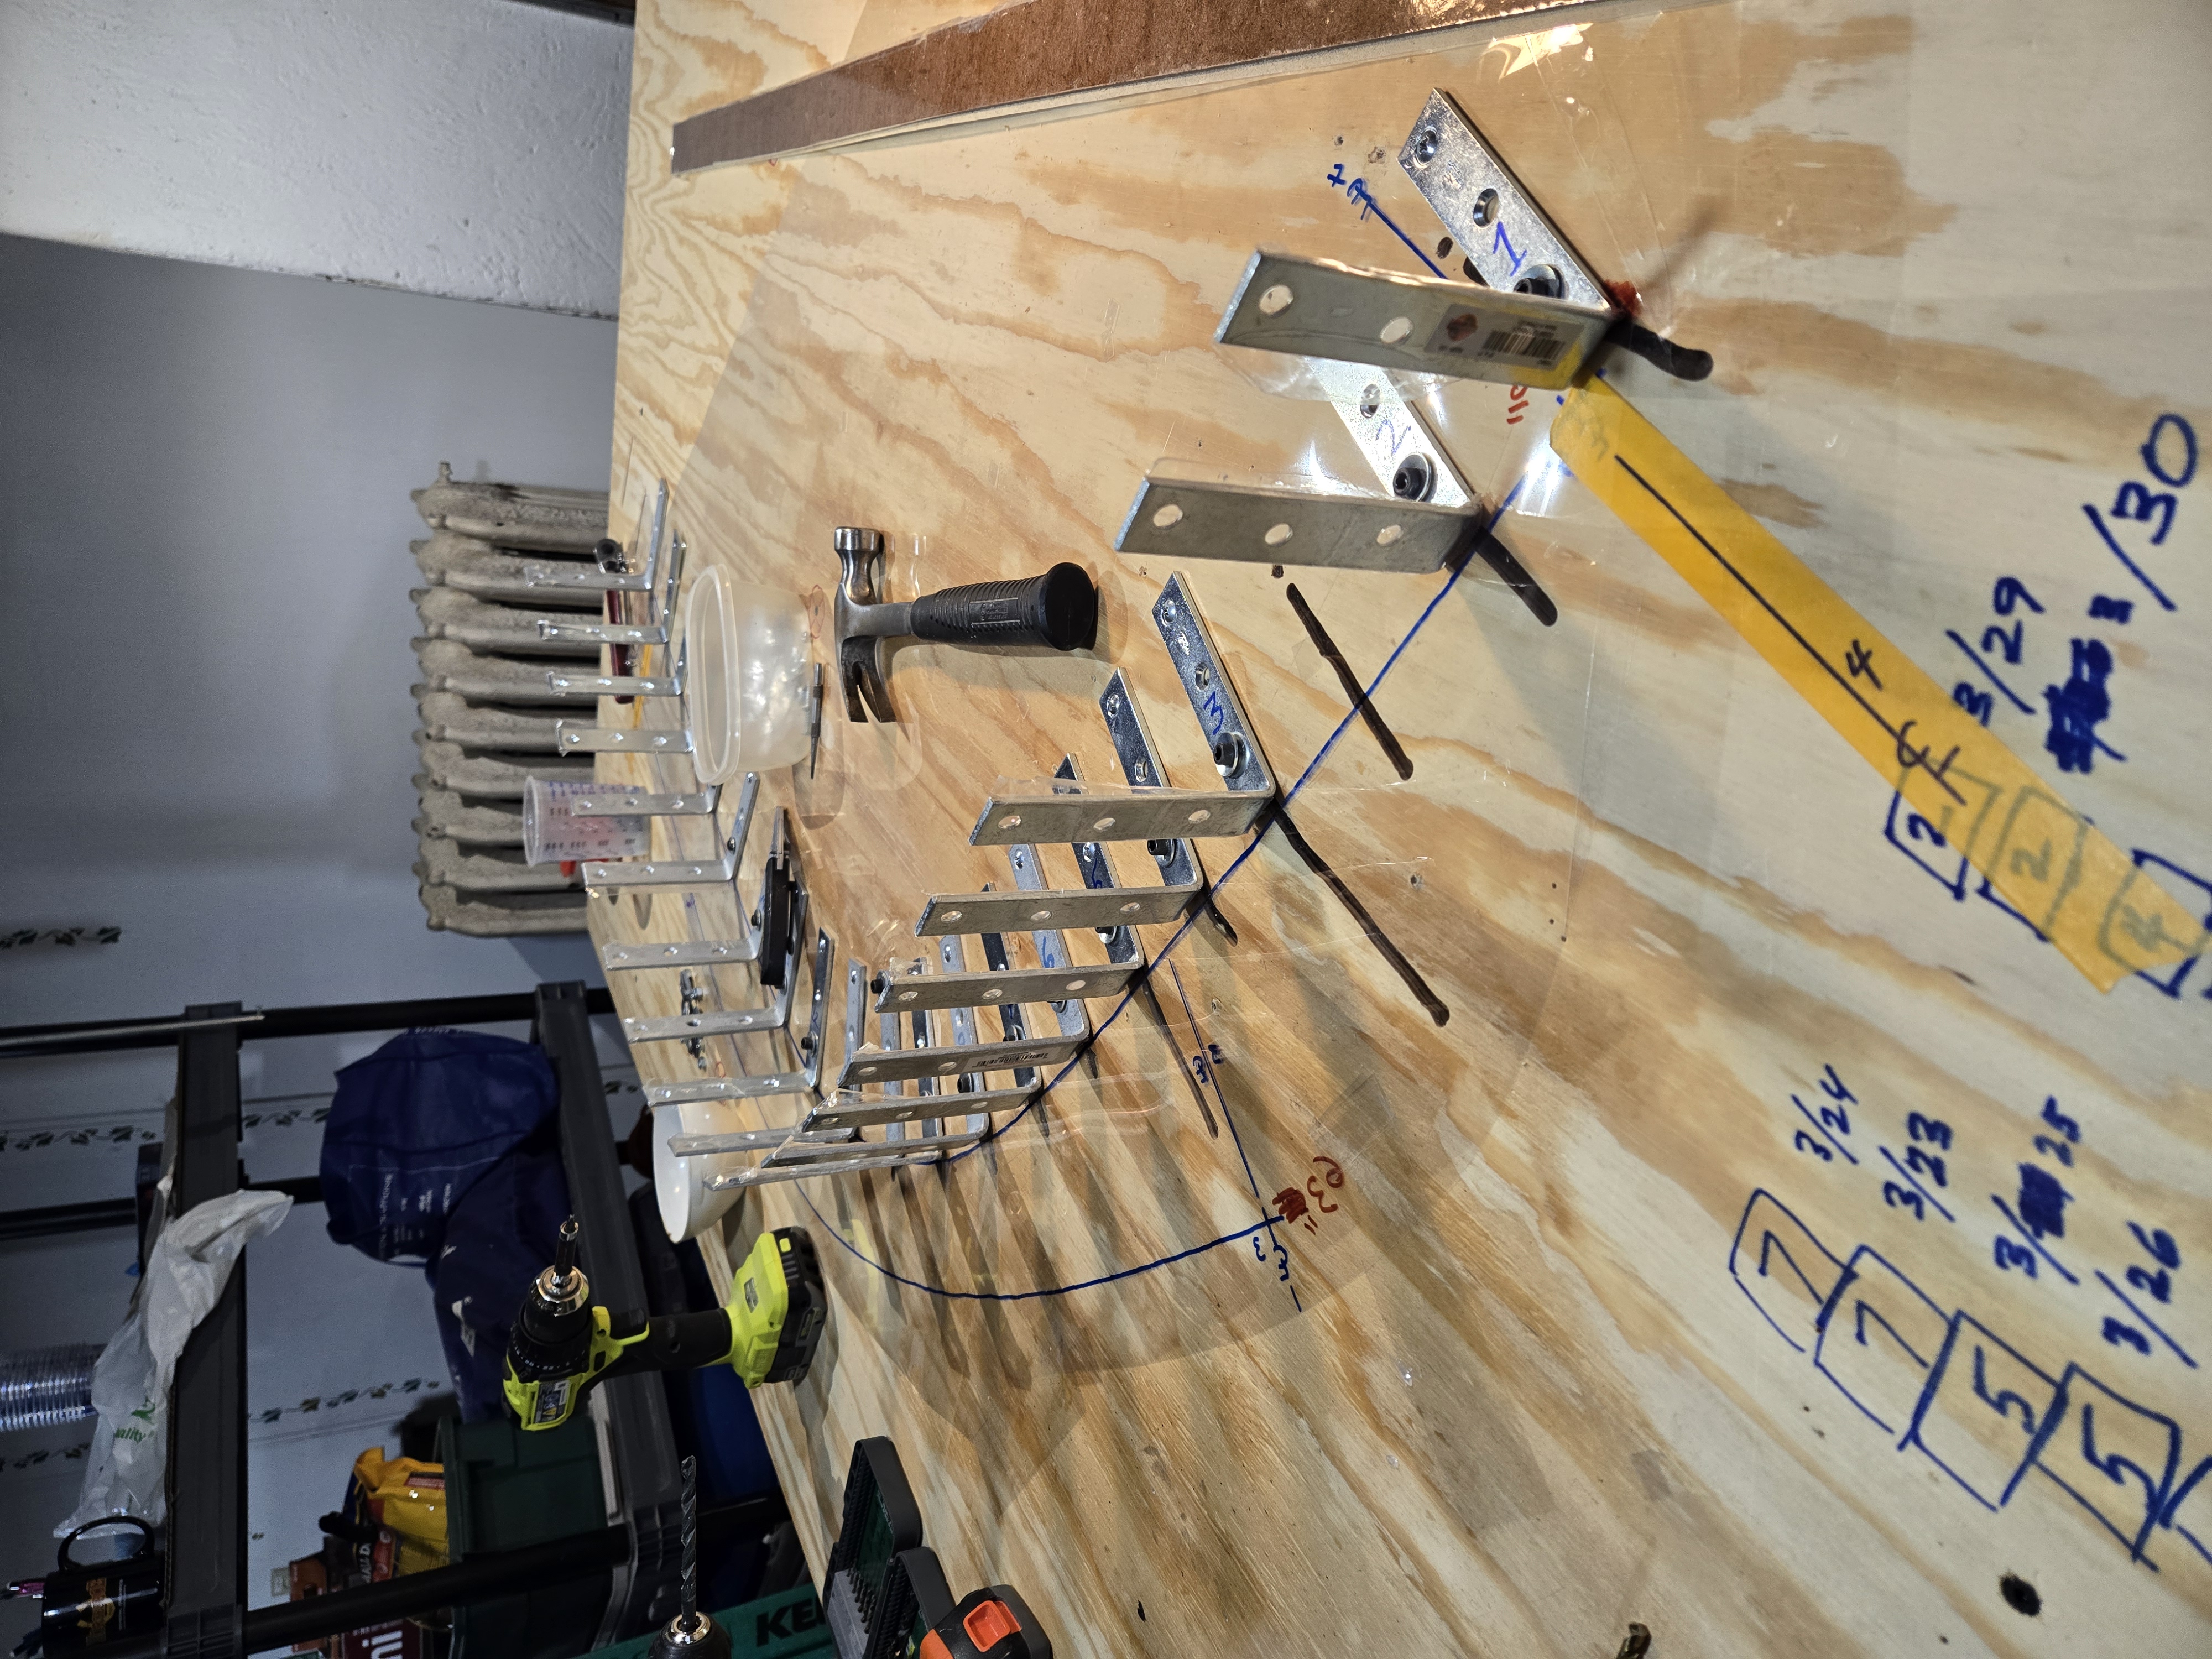
In the basement I set up a set of cleats (metal L-brackets) that matched the curve of the first frame, then cut 15 or so thin strips of Douglas Fir and forced them around the set of cleats.
Metal L-brackets bolted to a flat board in a curve that matches the required shape of a frame
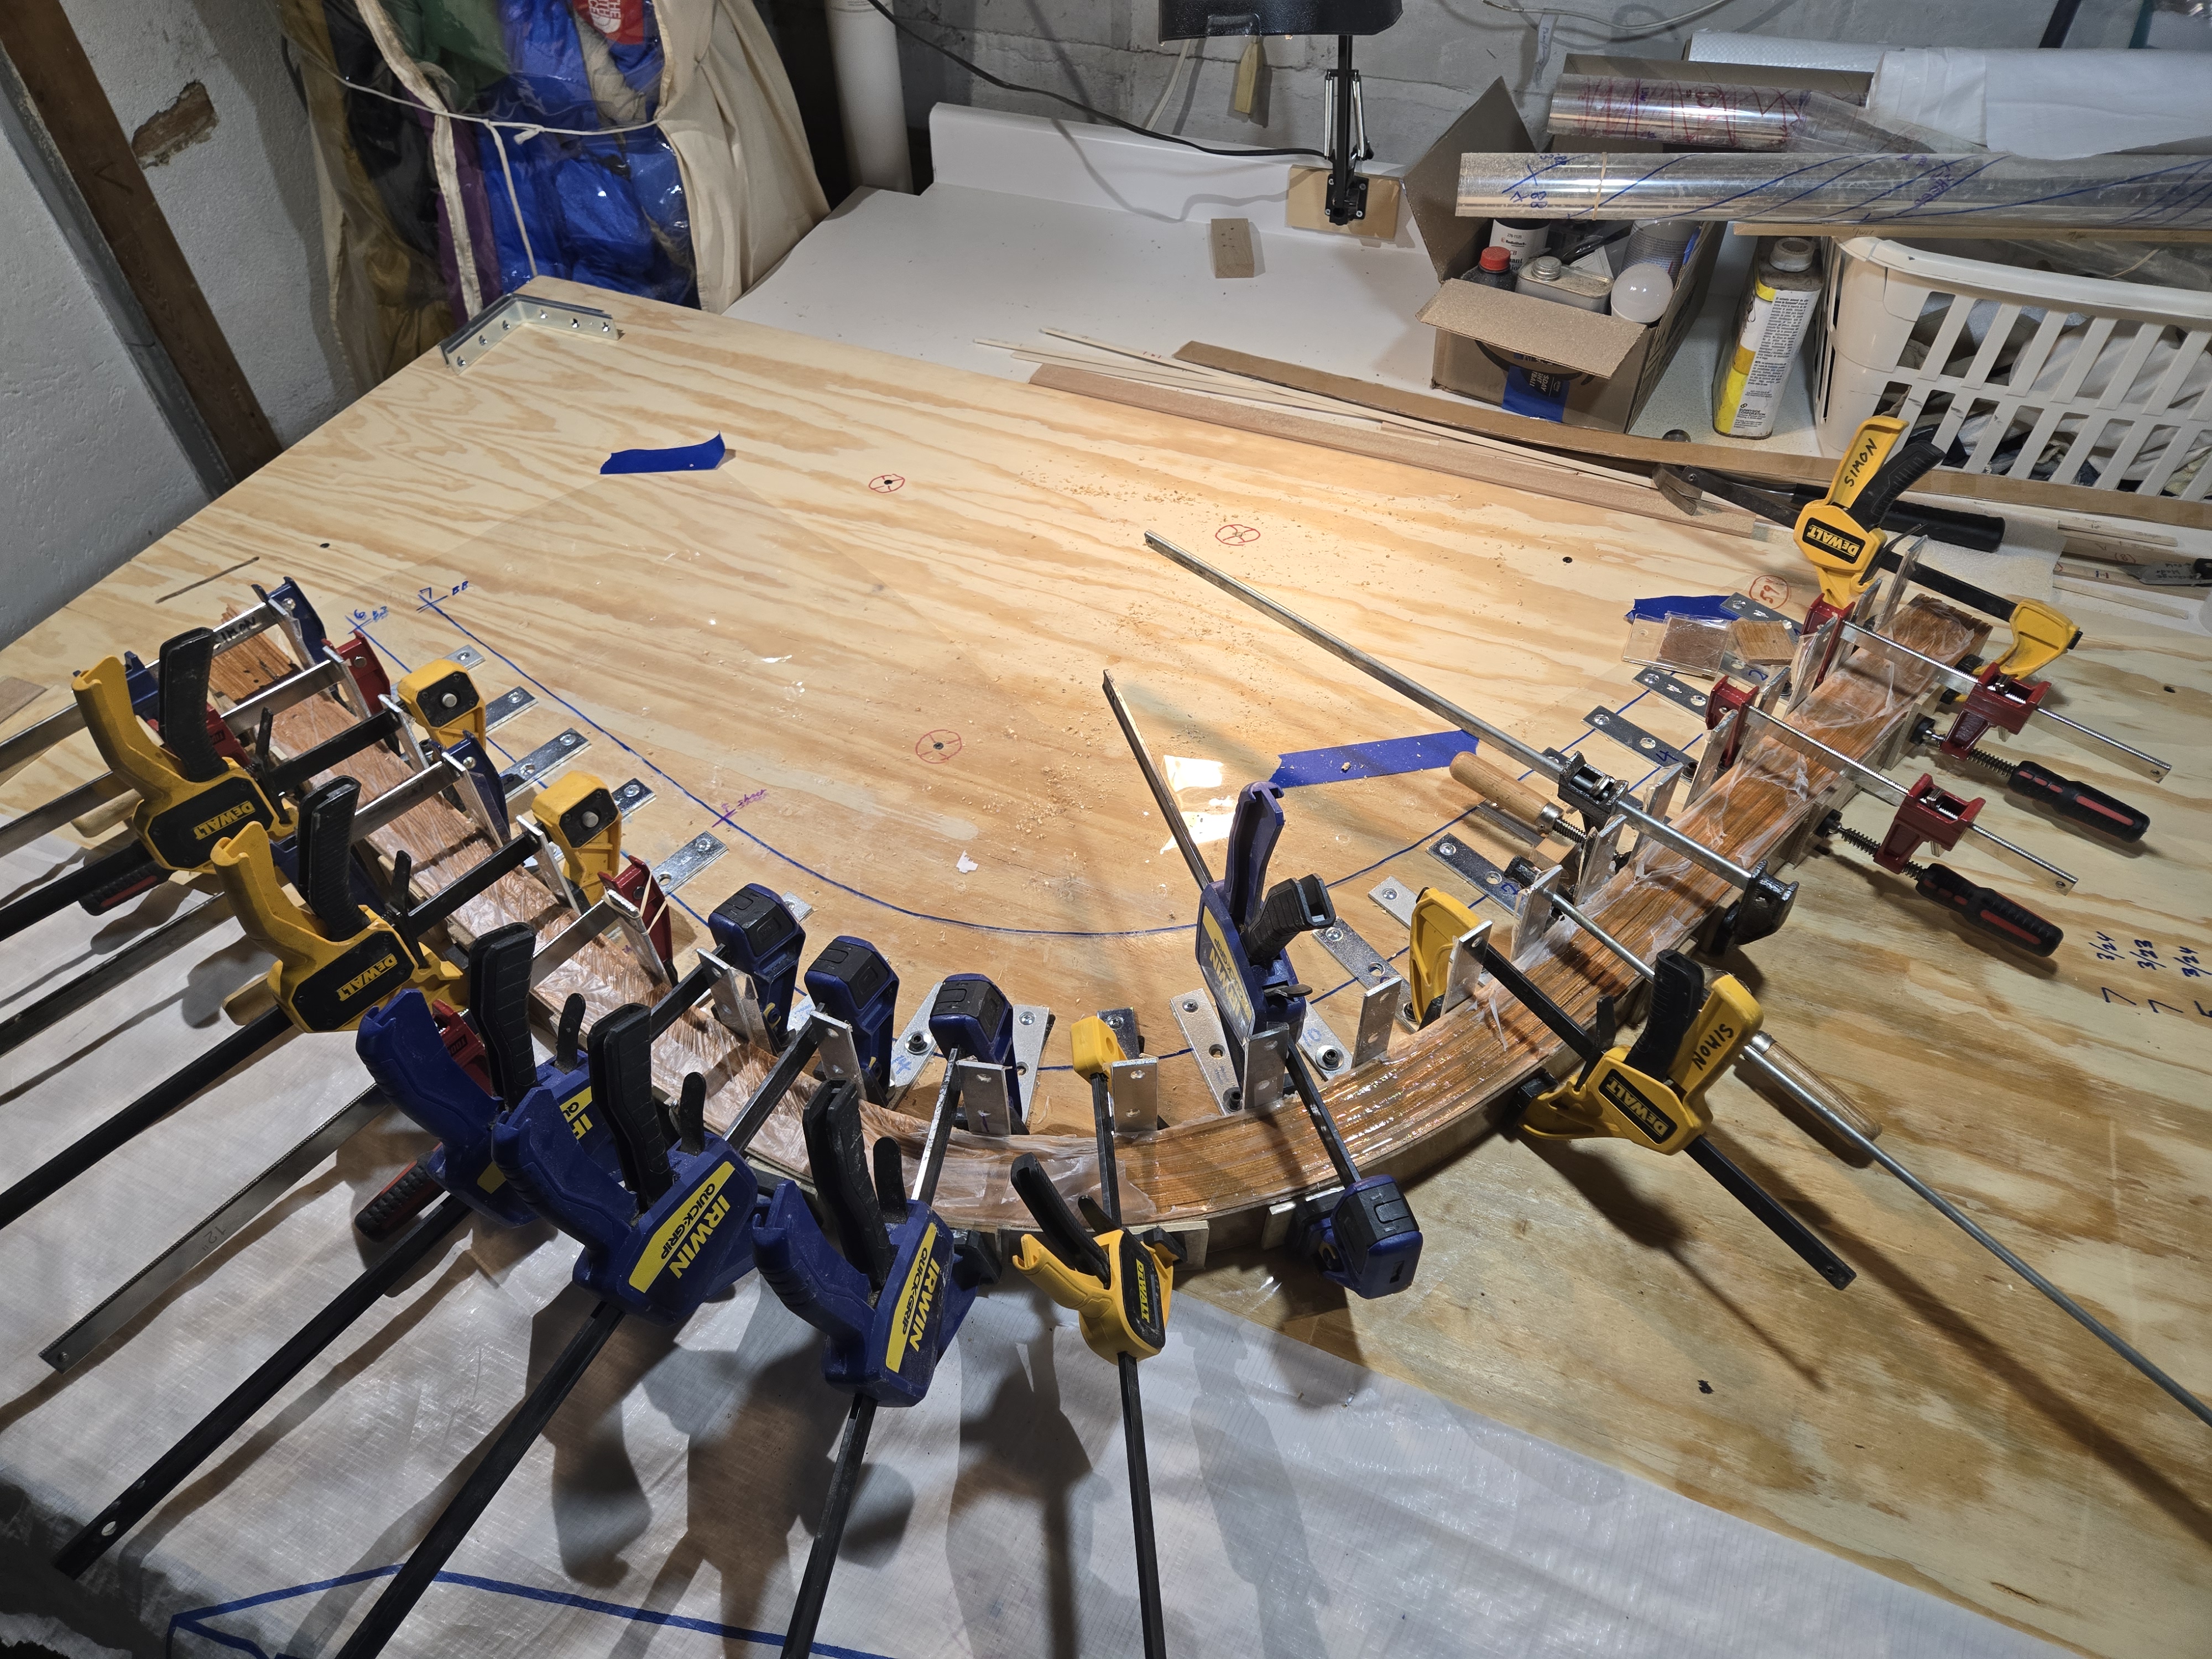
Once I was satisfied that the thin strips would bend around the form without breaking, I laid the strips on a work table, applied thick, gooey epoxy to both sides of each strip, and clamped the whole stack of strips around the form.
A stack of thin laminates forced around a form and clamped in place while the epoxy cures (3/25/2026)
The glue takes about 16 hours to cure, so the process of making each piece takes about a day. After each half frame is removed from the form it requires clean-up - removing the hardened epoxy that squeezed out and planing the part to the final thickness by running it through a surface power planer.
I repeated this process for each of 20 individual parts (16 half frames, a stem, an outer stem, a sternpost, and an outer sternpost.) The total time to fabricate all of these pieces was about a month.
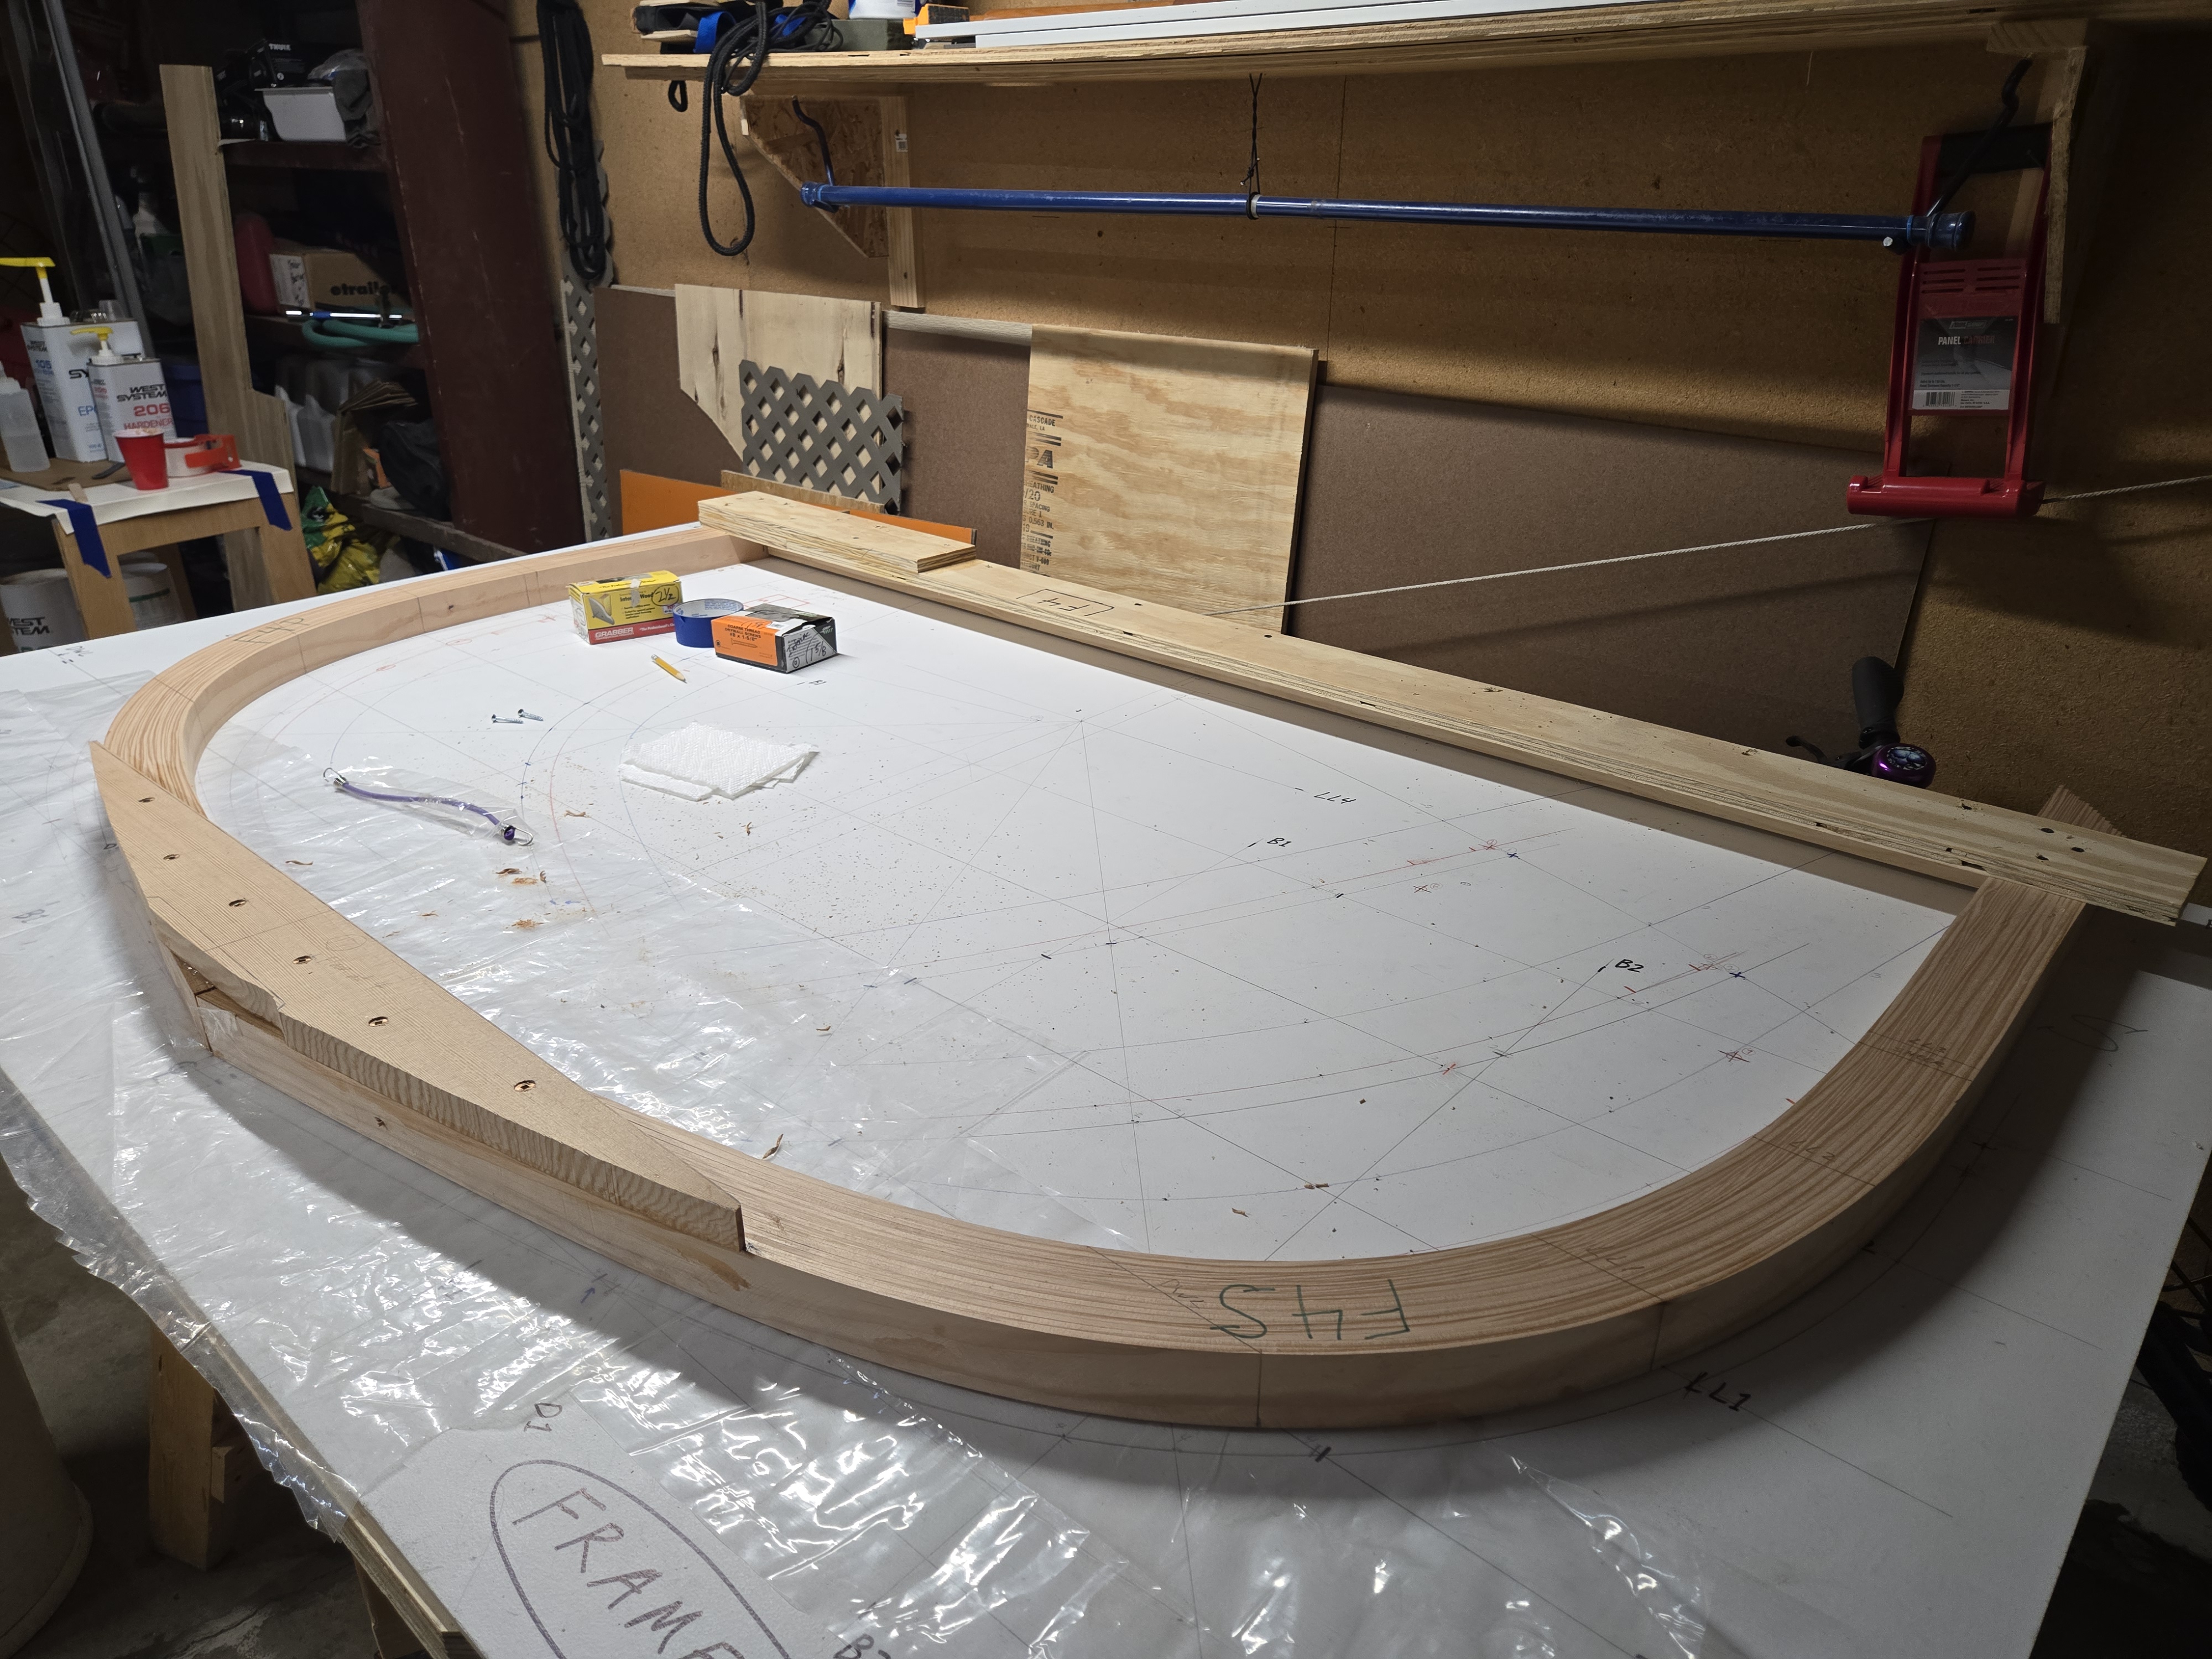
With all of the curved pieces completed I next joined the two halves of each frame together. A third piece of wood (called a floor) was used to join the two halves together.
These floors will support the wooden sole, which is what you walk on when the boat is complete.
Two halves of a frame joined together, aligned to the lines on the lofting board. (The cross piece at the top of the picture will be used to support the frame on the building jig.)
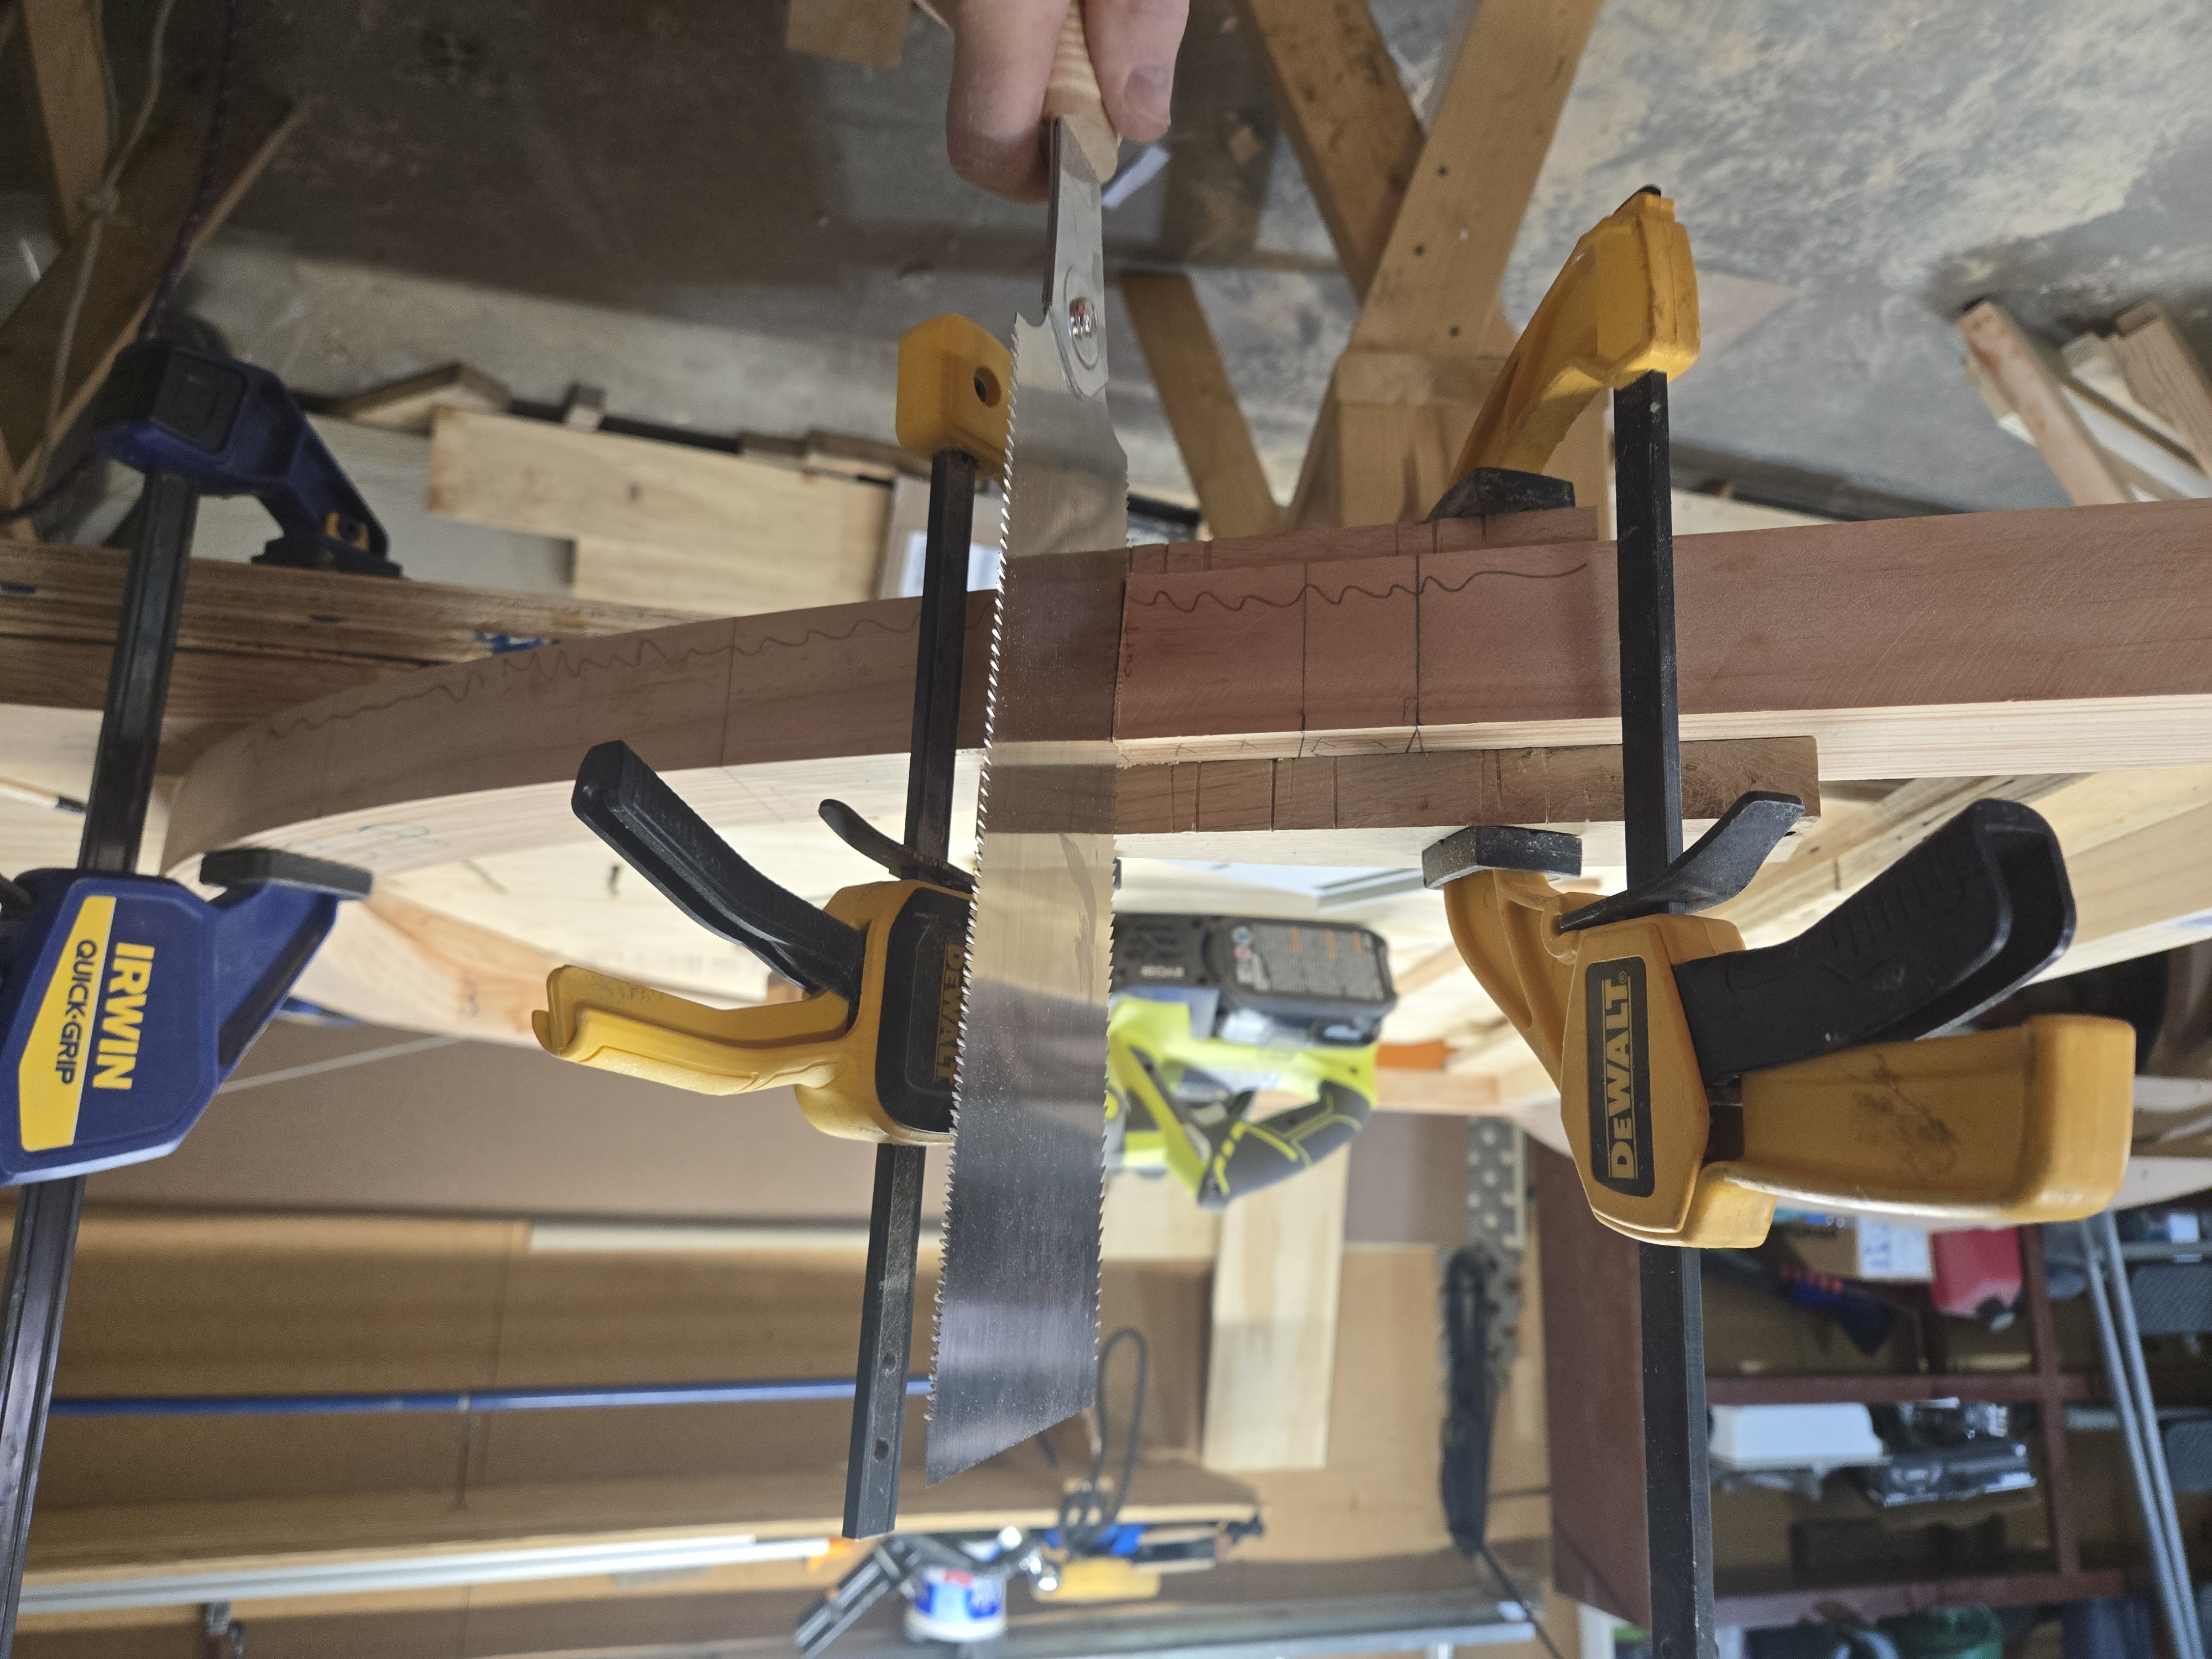
Before setting up the frames to build the boat I needed to cut precise notches in each one to make room for other parts of the boat (the keelson along the center of the hull and gunwales along what will be the top edges of the hull.) As with every other aspect of boatbuilding, these notches are not squared up with the frames, but require cutting compound angles.
Using a hand saw to cut a notch for a gunwale. Hope I got the angles and depth right!
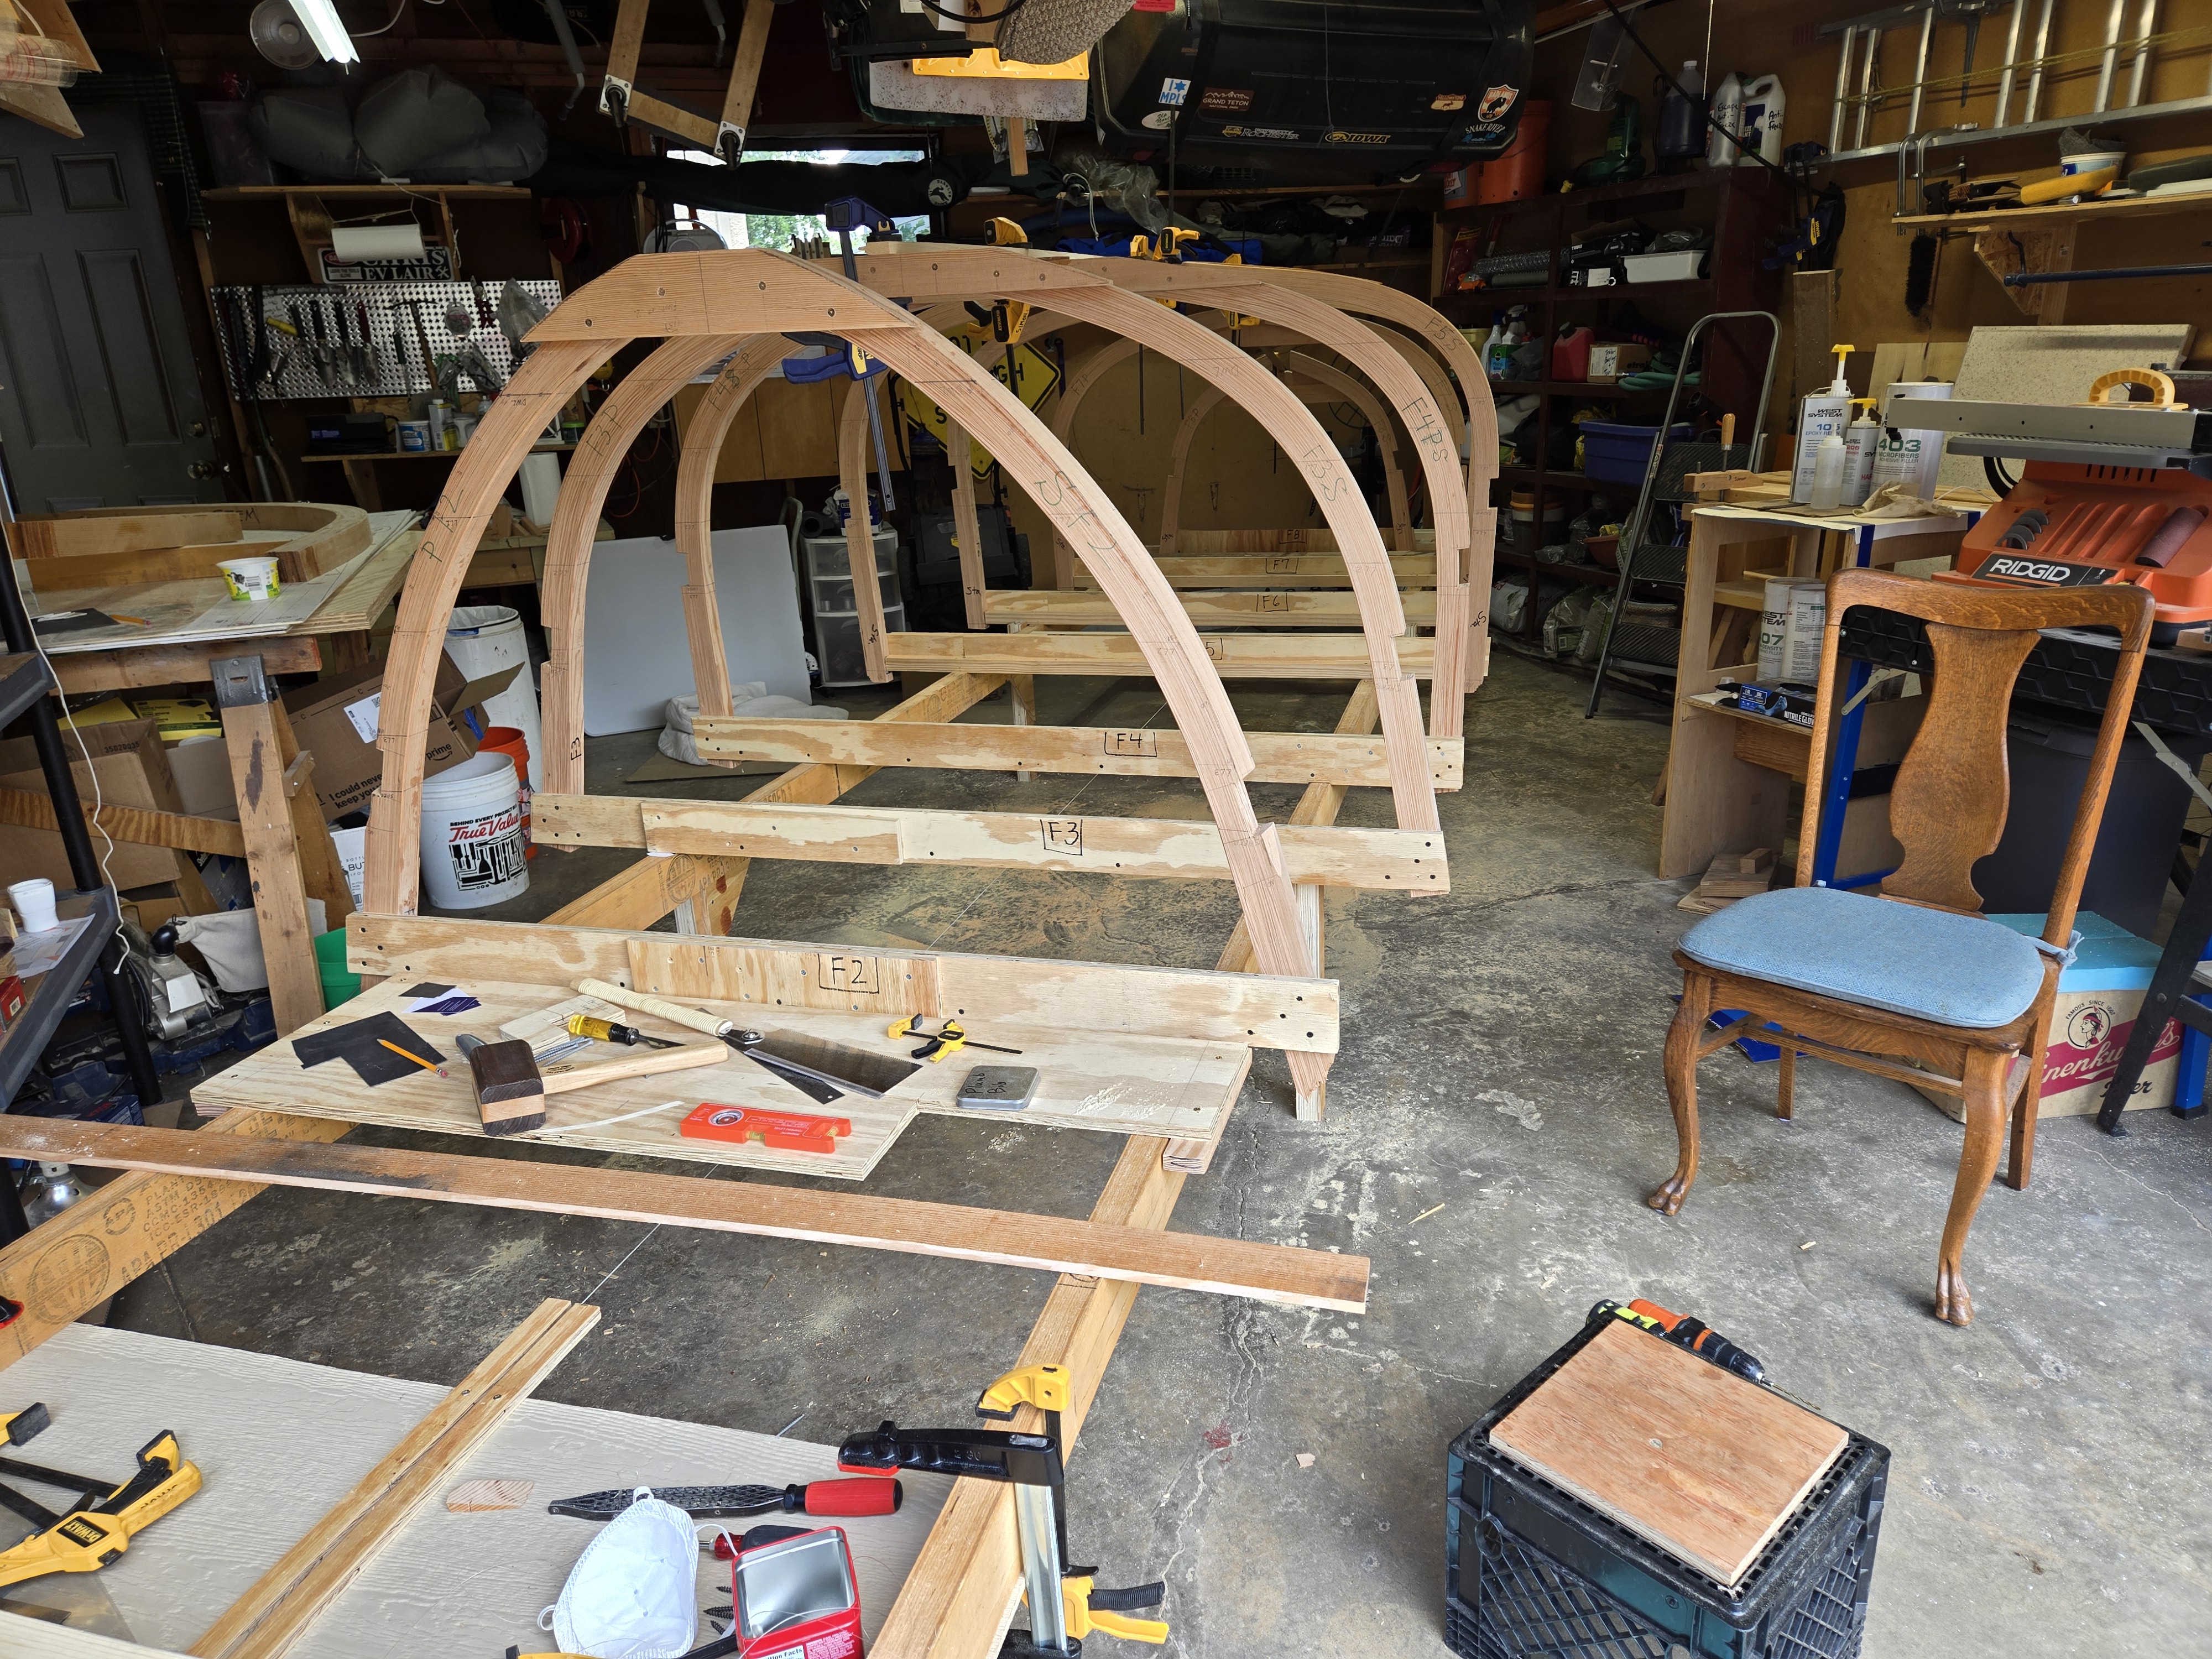
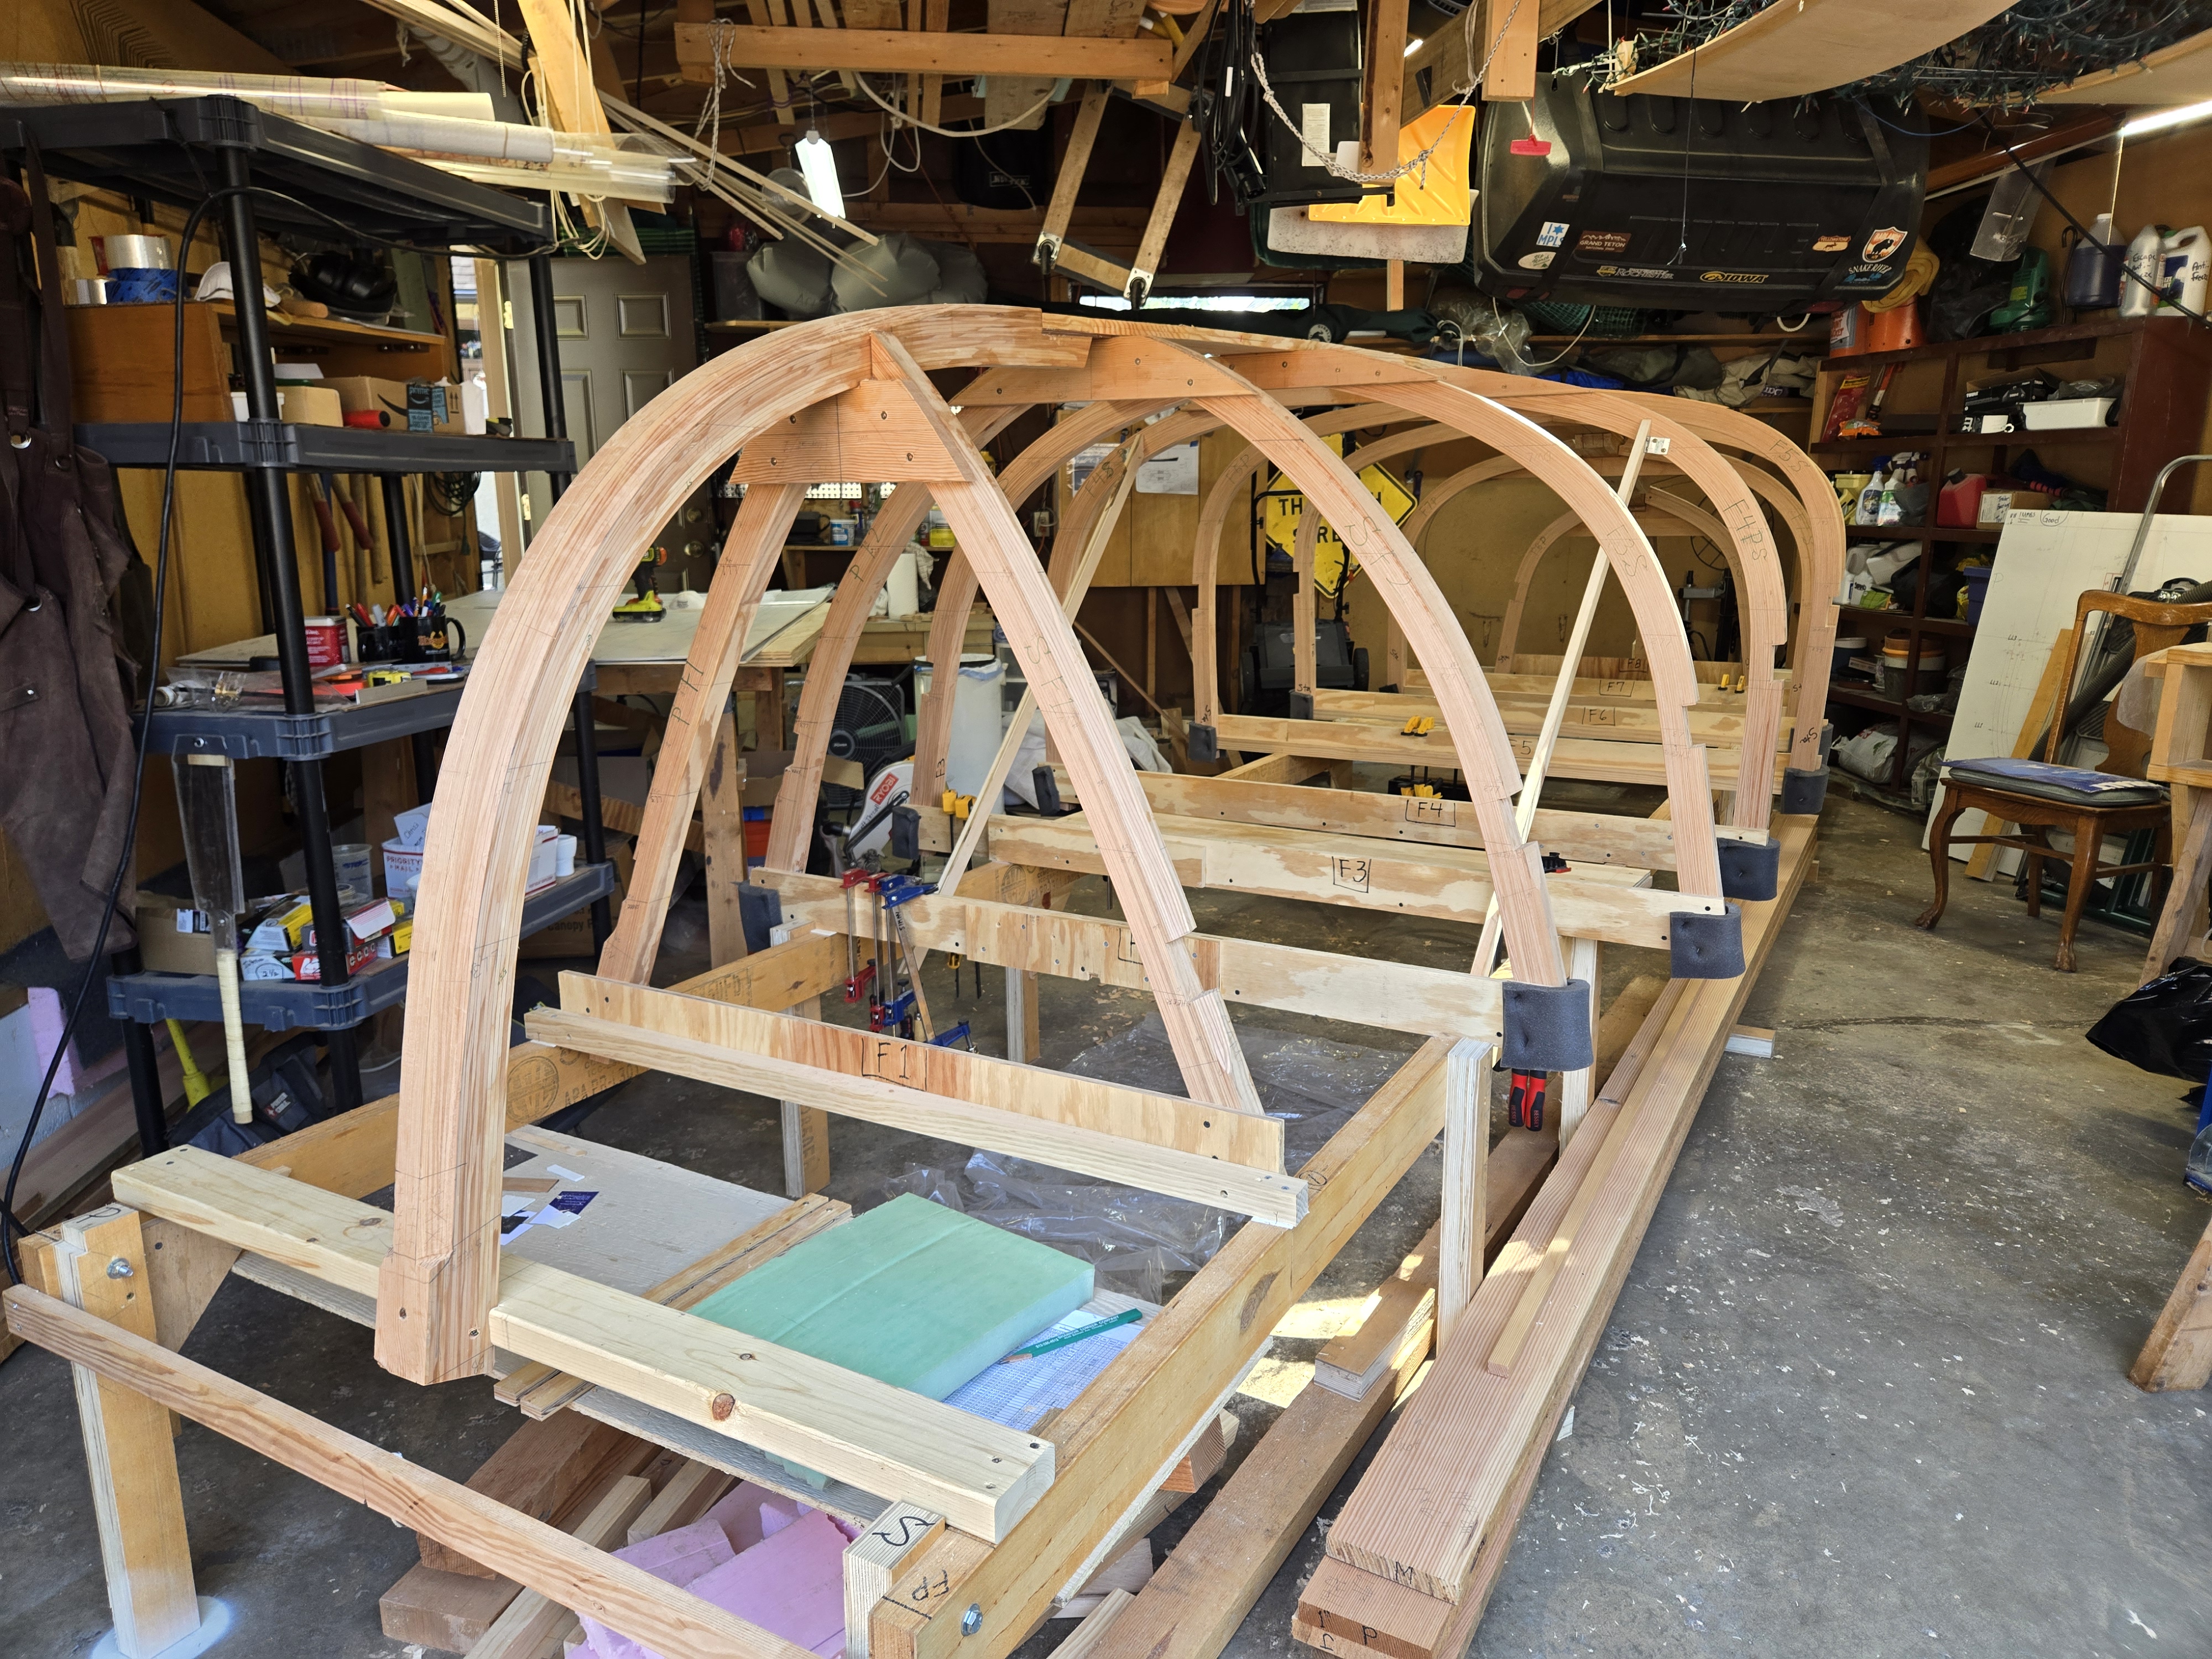
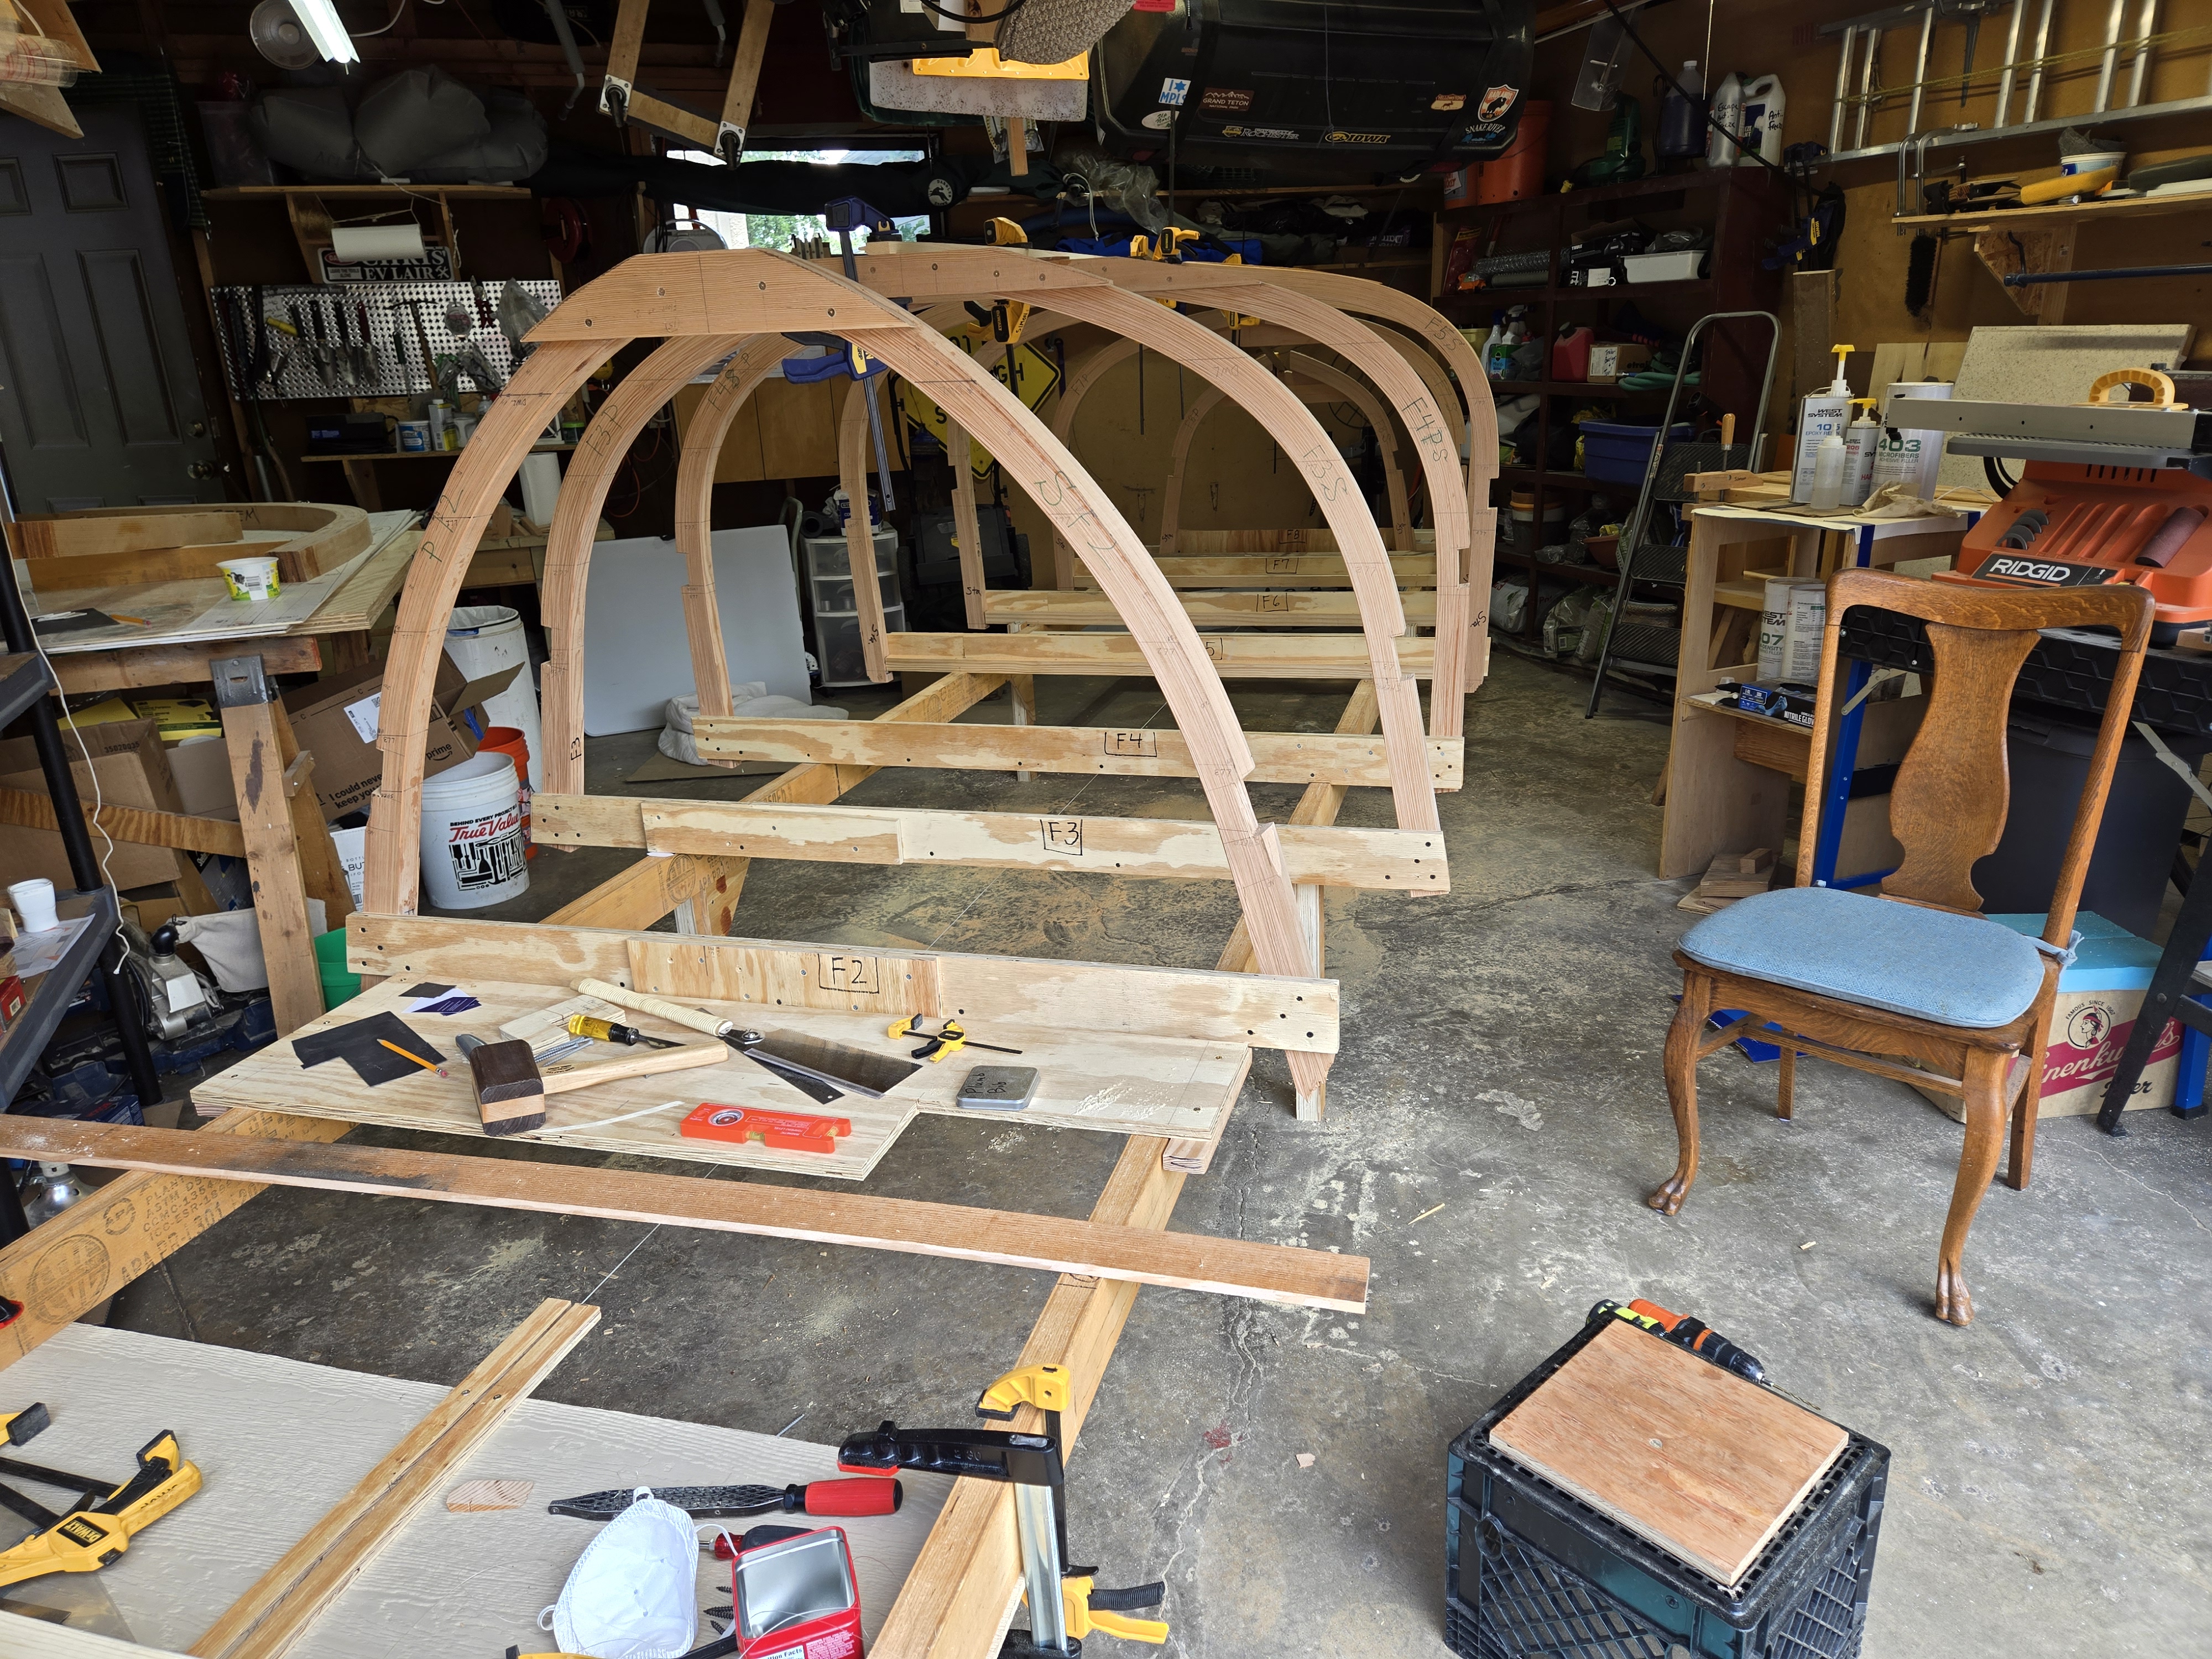
Once all of the frames were put together and notched it was time to build a jig that holds them all in precise alignment. The building jig (or building base) must be strong enough to support the full weight of the boat as it is built, and rigid enough to hold things in alignment as I apply forces to get the planks bent onto the boat.
I built a ladder frame with two 20-foot long beams supported by several legs to hold it off the floor. The frames are attached to the beams, and I used a laser level to set them all at the exact same height.
Setting up the frames on the building jig
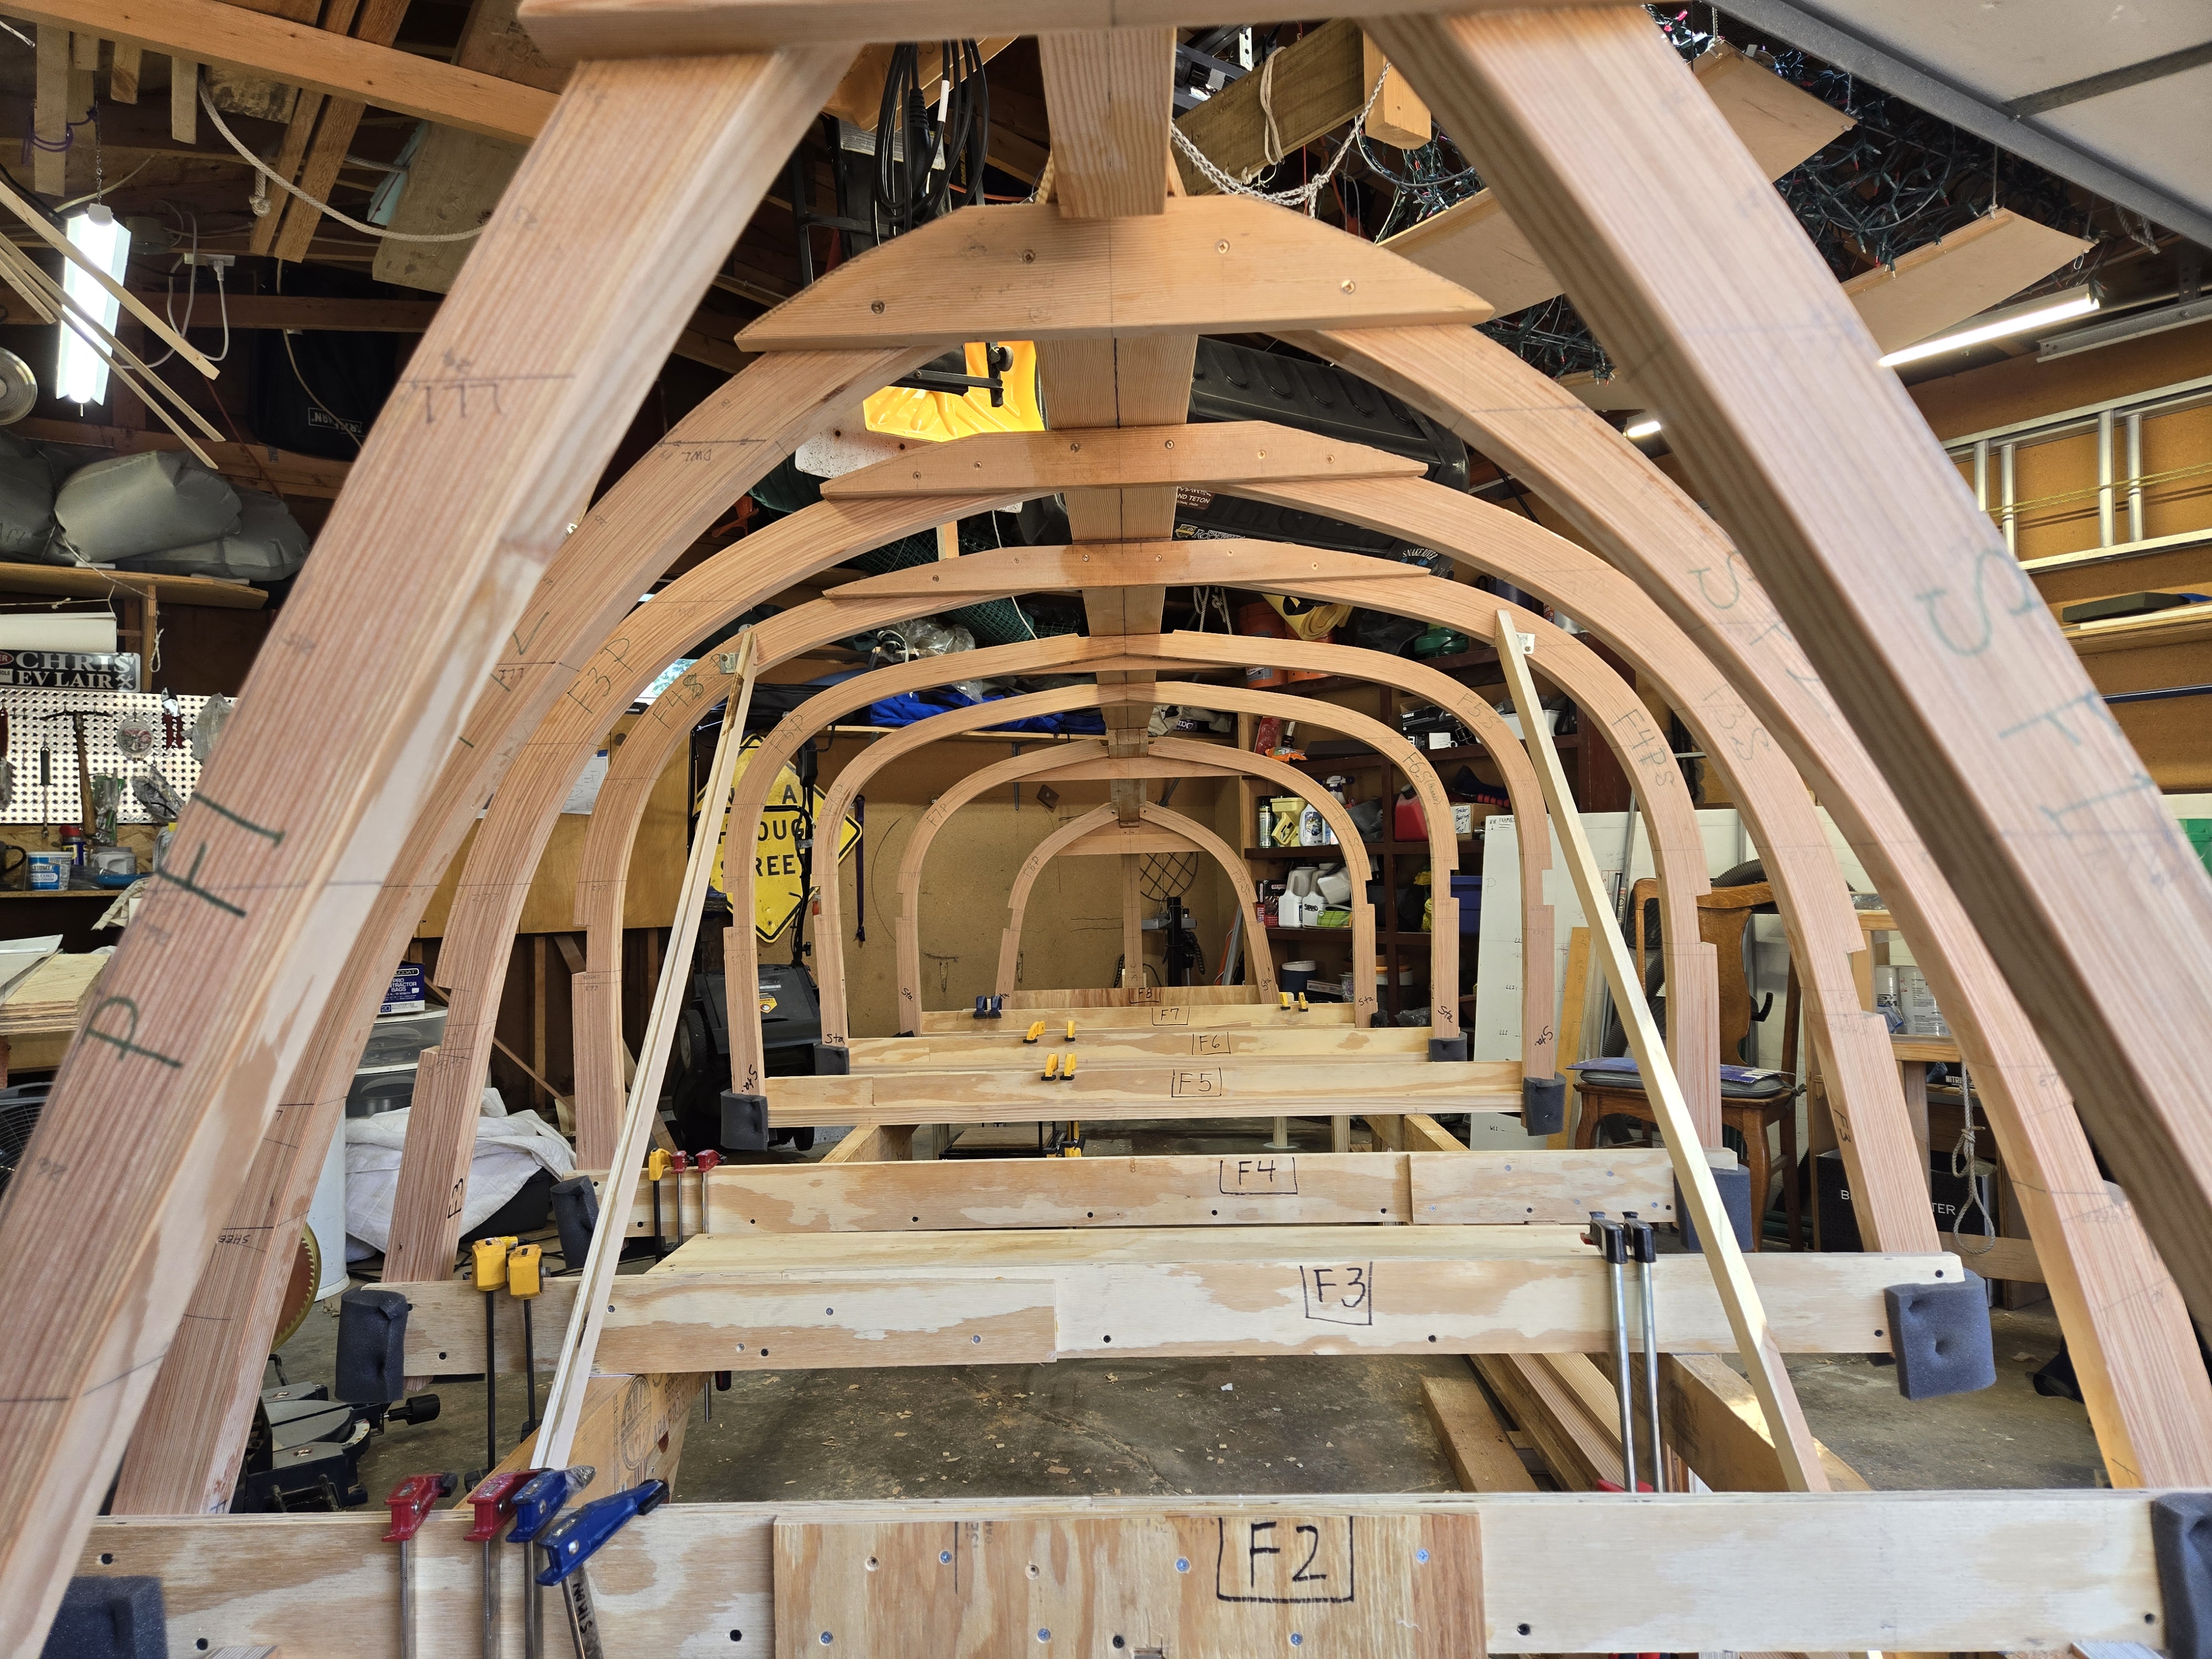
Here's a view from the front of the boat showing the frames, stem, and sternpost assembled onto the building jig (7/18/2026)
Another view from inside the boat with the keelson installed along the centerline of the boat at the top of the picture
Planking the Hull
The hull of the boat is created by attaching long thin strips of Western Red Cedar to the frames of the boat, in a process called "strip planking." Each strip is twisted and bent to conform to the hull, then glued to the frames and to adjacent strips. Temporary screws and a variety of clamps and wedges are used to hold each strip in place while the epoxy cures. Because of the extreme curves in the hull, each strip needs to be fairly thin (5/8 inch thick by 1 1/4 inch wide.) Some of the strips are over 22 feet in length to reach from stem to stern (front of the boat to the back.)
Additional pictures will be added as the build progresses, so please check back!
Project Videos
Below are links to YouTube videos capturing my work on the boat.
WARNING: I'm not a professional content creator, so don't expect polished presentations!
3 months of boat building in one and a half minutes
Time-lapse of the first 3 months building the boat in my garage. You get to witness the slow progress over the summer months. If you watch the temperature on the bottom of the screen you'll see I was working through some pretty hot days!
As the weather turned cooler it was time to move from my garage to a heated workshop for the winter. Theo and Danica, who own a workshop called Mpls Make came through for me, allowing me to work on this very large project in their workshop.
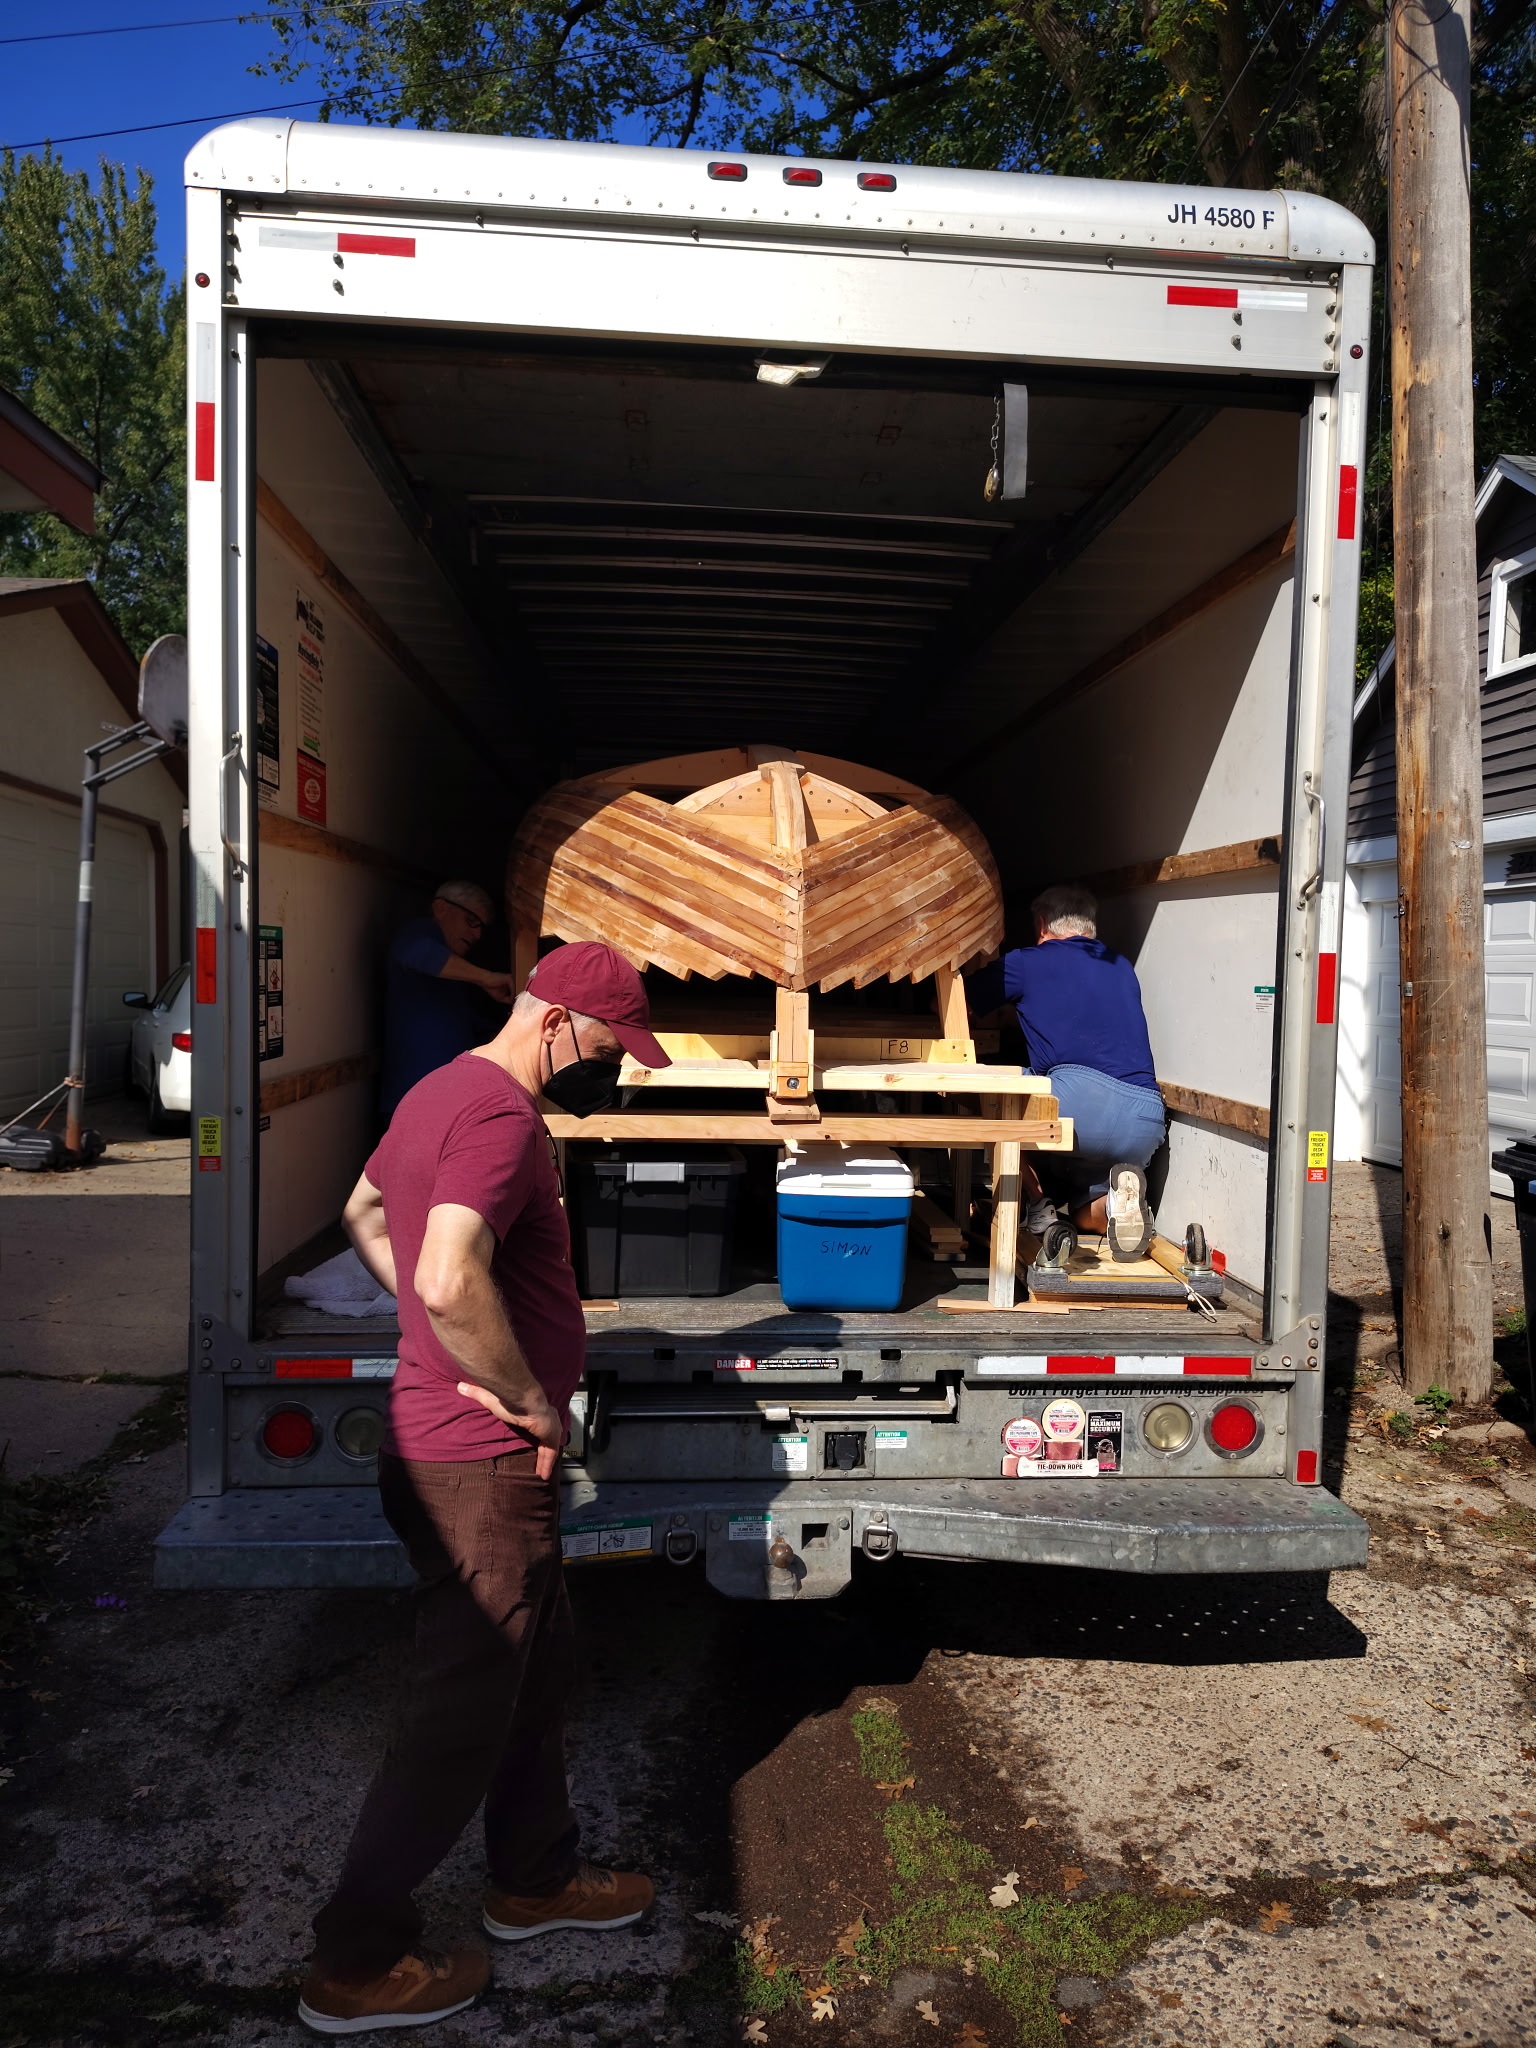
Here's a quick video of many friends helping me load the partially built wooden boat from the garage into a truck. Thanks to all the folks who showed up to help! Fortunately, we didn't drop the boat!
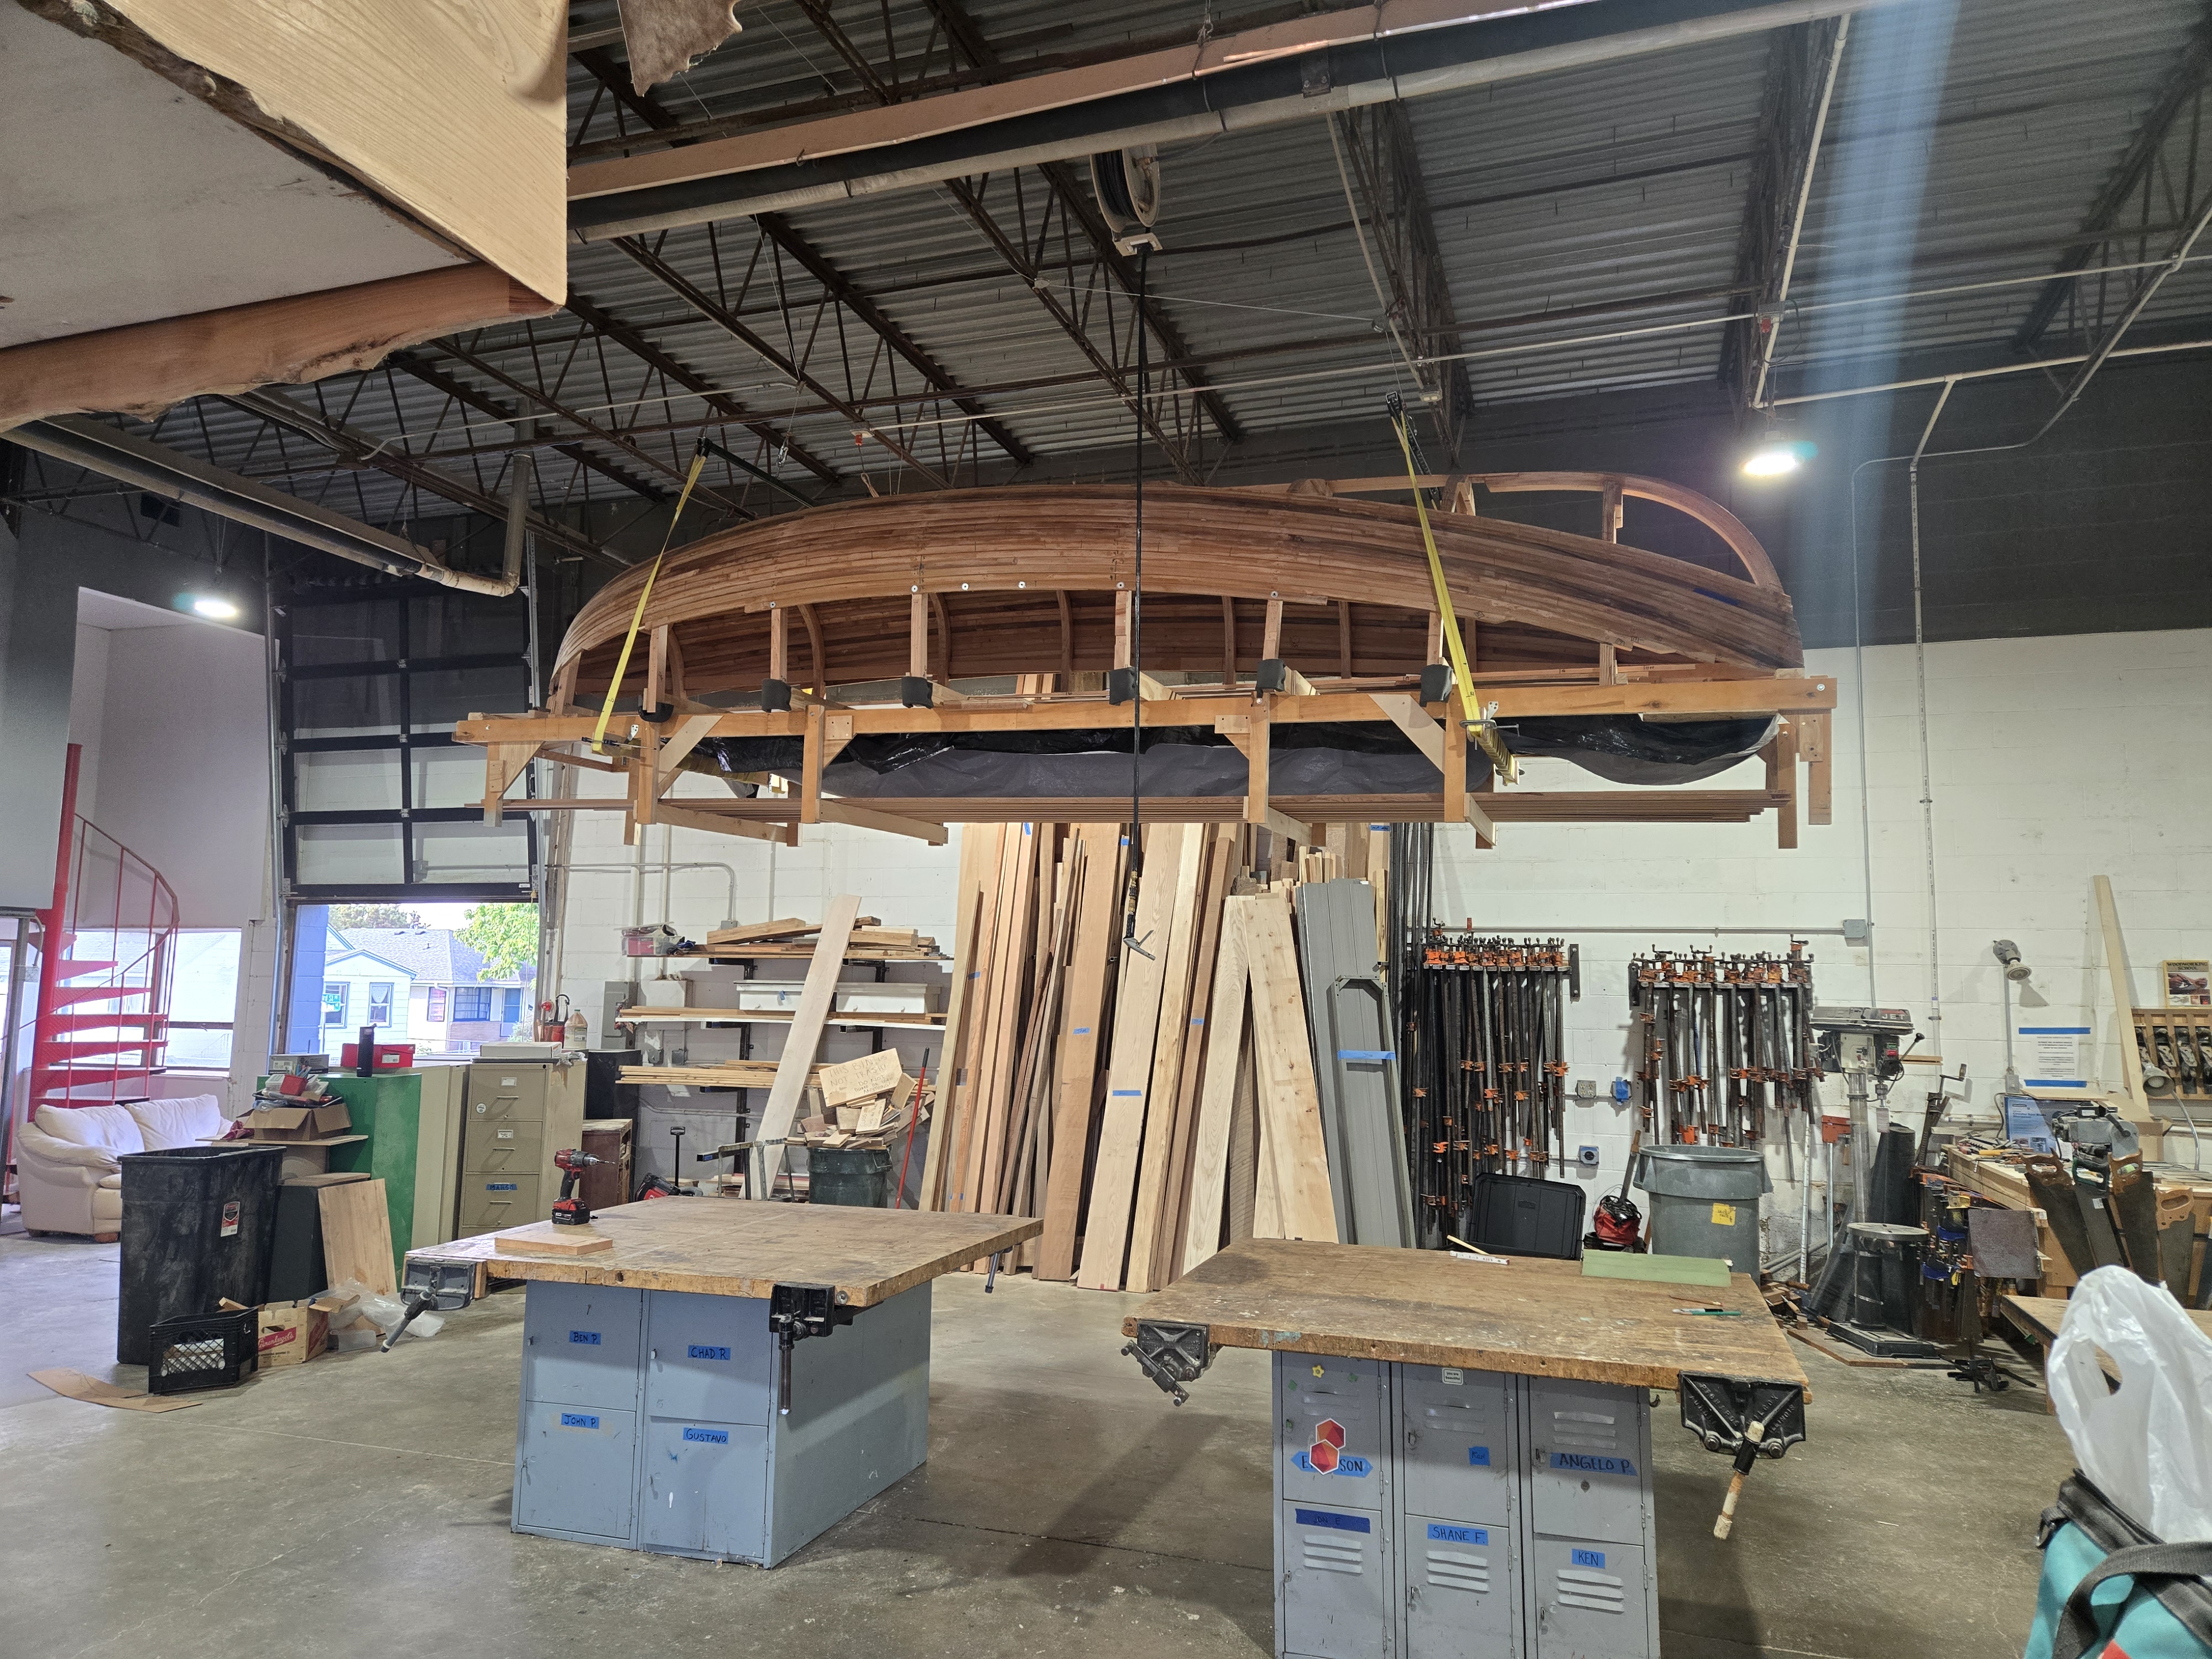
To provide space for other members of the workshop to work on their own projects I'll raise the wooden boat to the rafters when I'm not working on it. Here's a quick view of my first time raising the boat, building jig, and planking lumber to the ceiling at the Mpls Make workshop.
In 2008 I converted a car from gasoline to battery-powered electric, eventually installing a large lithium-based battery pack to give the car around 100 miles of range. This was my daily driver for around 9 years, until I purchased factory-made EVs. (First a Chevrolet Volt, then a Tesla Model 3.)
In 2018 I built a small wooden dinghy which I use for both sailing and rowing, depending on weather conditions and my need for exercise.